Climbing the Black Tusk
Climbing the Black Tusk
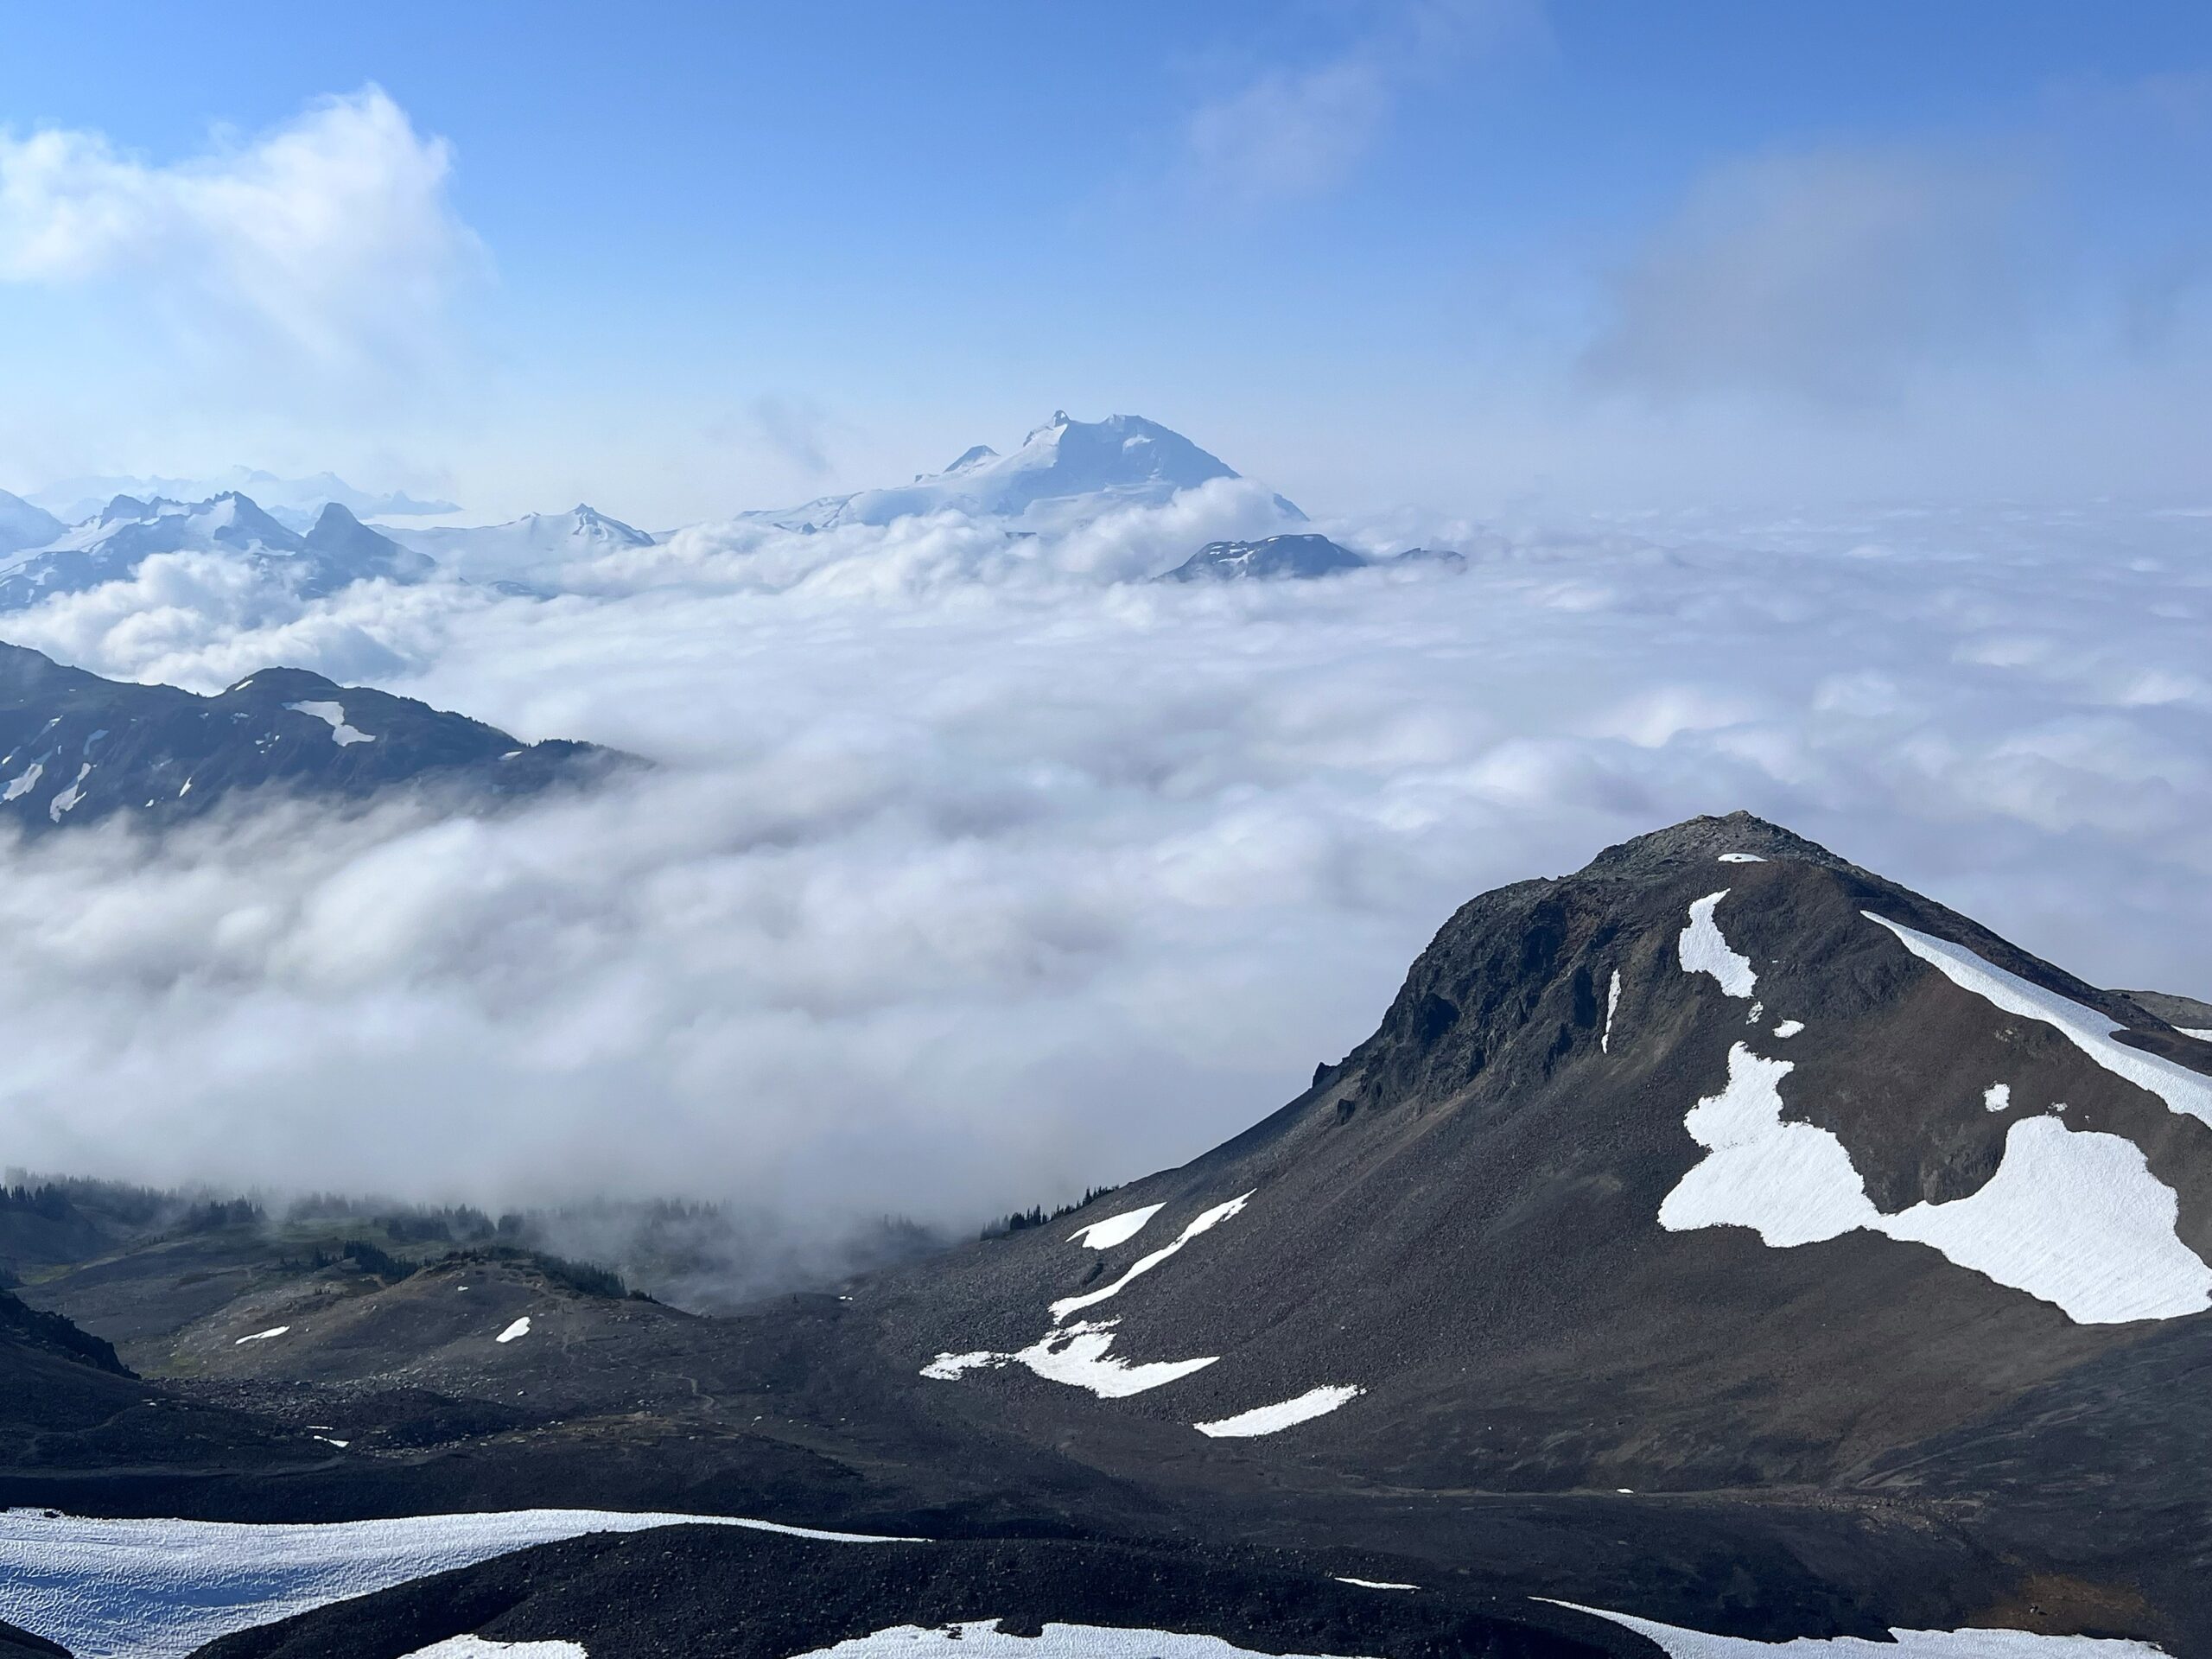
Garibaldi Provincial Park in British Columbia, Canada, has earned itself the reputation as a world-class hiking destination for travelers across the globe, all for good reasons. People come from all over to gaze at the picturesque Garibaldi Lake and witness the park’s abundant wildlife or make the long trek to see the park’s viewpoints from Panorama Ridge. However, for the adventurous spirit, you may find yourself wanting to visit this park to climb the notorious Black Tusk.
The Black Tusk stands as one of the park’s most dramatic high points and offers fantastic 360 views. However, climbing this peak doesn’t come without risk. To earn the privilege of standing on this peak’s summit, one must scramble some of the worst class 5 rock I’ve yet to attempt. If you’re willing to take on this risk you will be rewarded with one of the best views I’ve seen from a summit.
The Approach
This hike starts at the Rubble Creek Trailhead in Garibaldi Provincial Park. The approach is relatively straightforward. It’s on a well-maintained trail used mainly by day hikers and backpackers trying to access Garibaldi Lake and Panorama Ridge.
Your first decision is at 6 km (3.6 miles), where the trail will first junction. The trail to the left will take you to Taylor Meadows, and the Trail to the right will take you to Garibaldi Lake.
If you go left to Taylor Meadows, you will need to make it to 6.9 km (4.3 miles) to reach the campground, and if you go right to Garibaldi Lake, you will need to make it to 8.9 km (5.5 miles) to reach the Garibaldi Campground.
The next milestone on this hike will be once you reach the start of the climb, which will be at 9.3 km (5.8 miles), assuming you went the Taylor Meadows route.
From this point, you will end your approach and start climbing up the Black Tusk. You are looking at another 2.7 km (1.7 miles) and 640 meters or 2101 feet of vert to the summit from here.
The trek is 26 km (16.1 miles) and 1760 meters or 5,777 feet of vert.
Here is the All-Trails link:
Black Tusk Climb
The Climb
Scree Fields
I should start by stressing that this climb should not be taken lightly. People are known to show up unprepared, which has been known to lead to accidents, evacuations, and even death. This climb should only be attempted by climbers who are very experienced with exposure and proper rock climbing techniques.
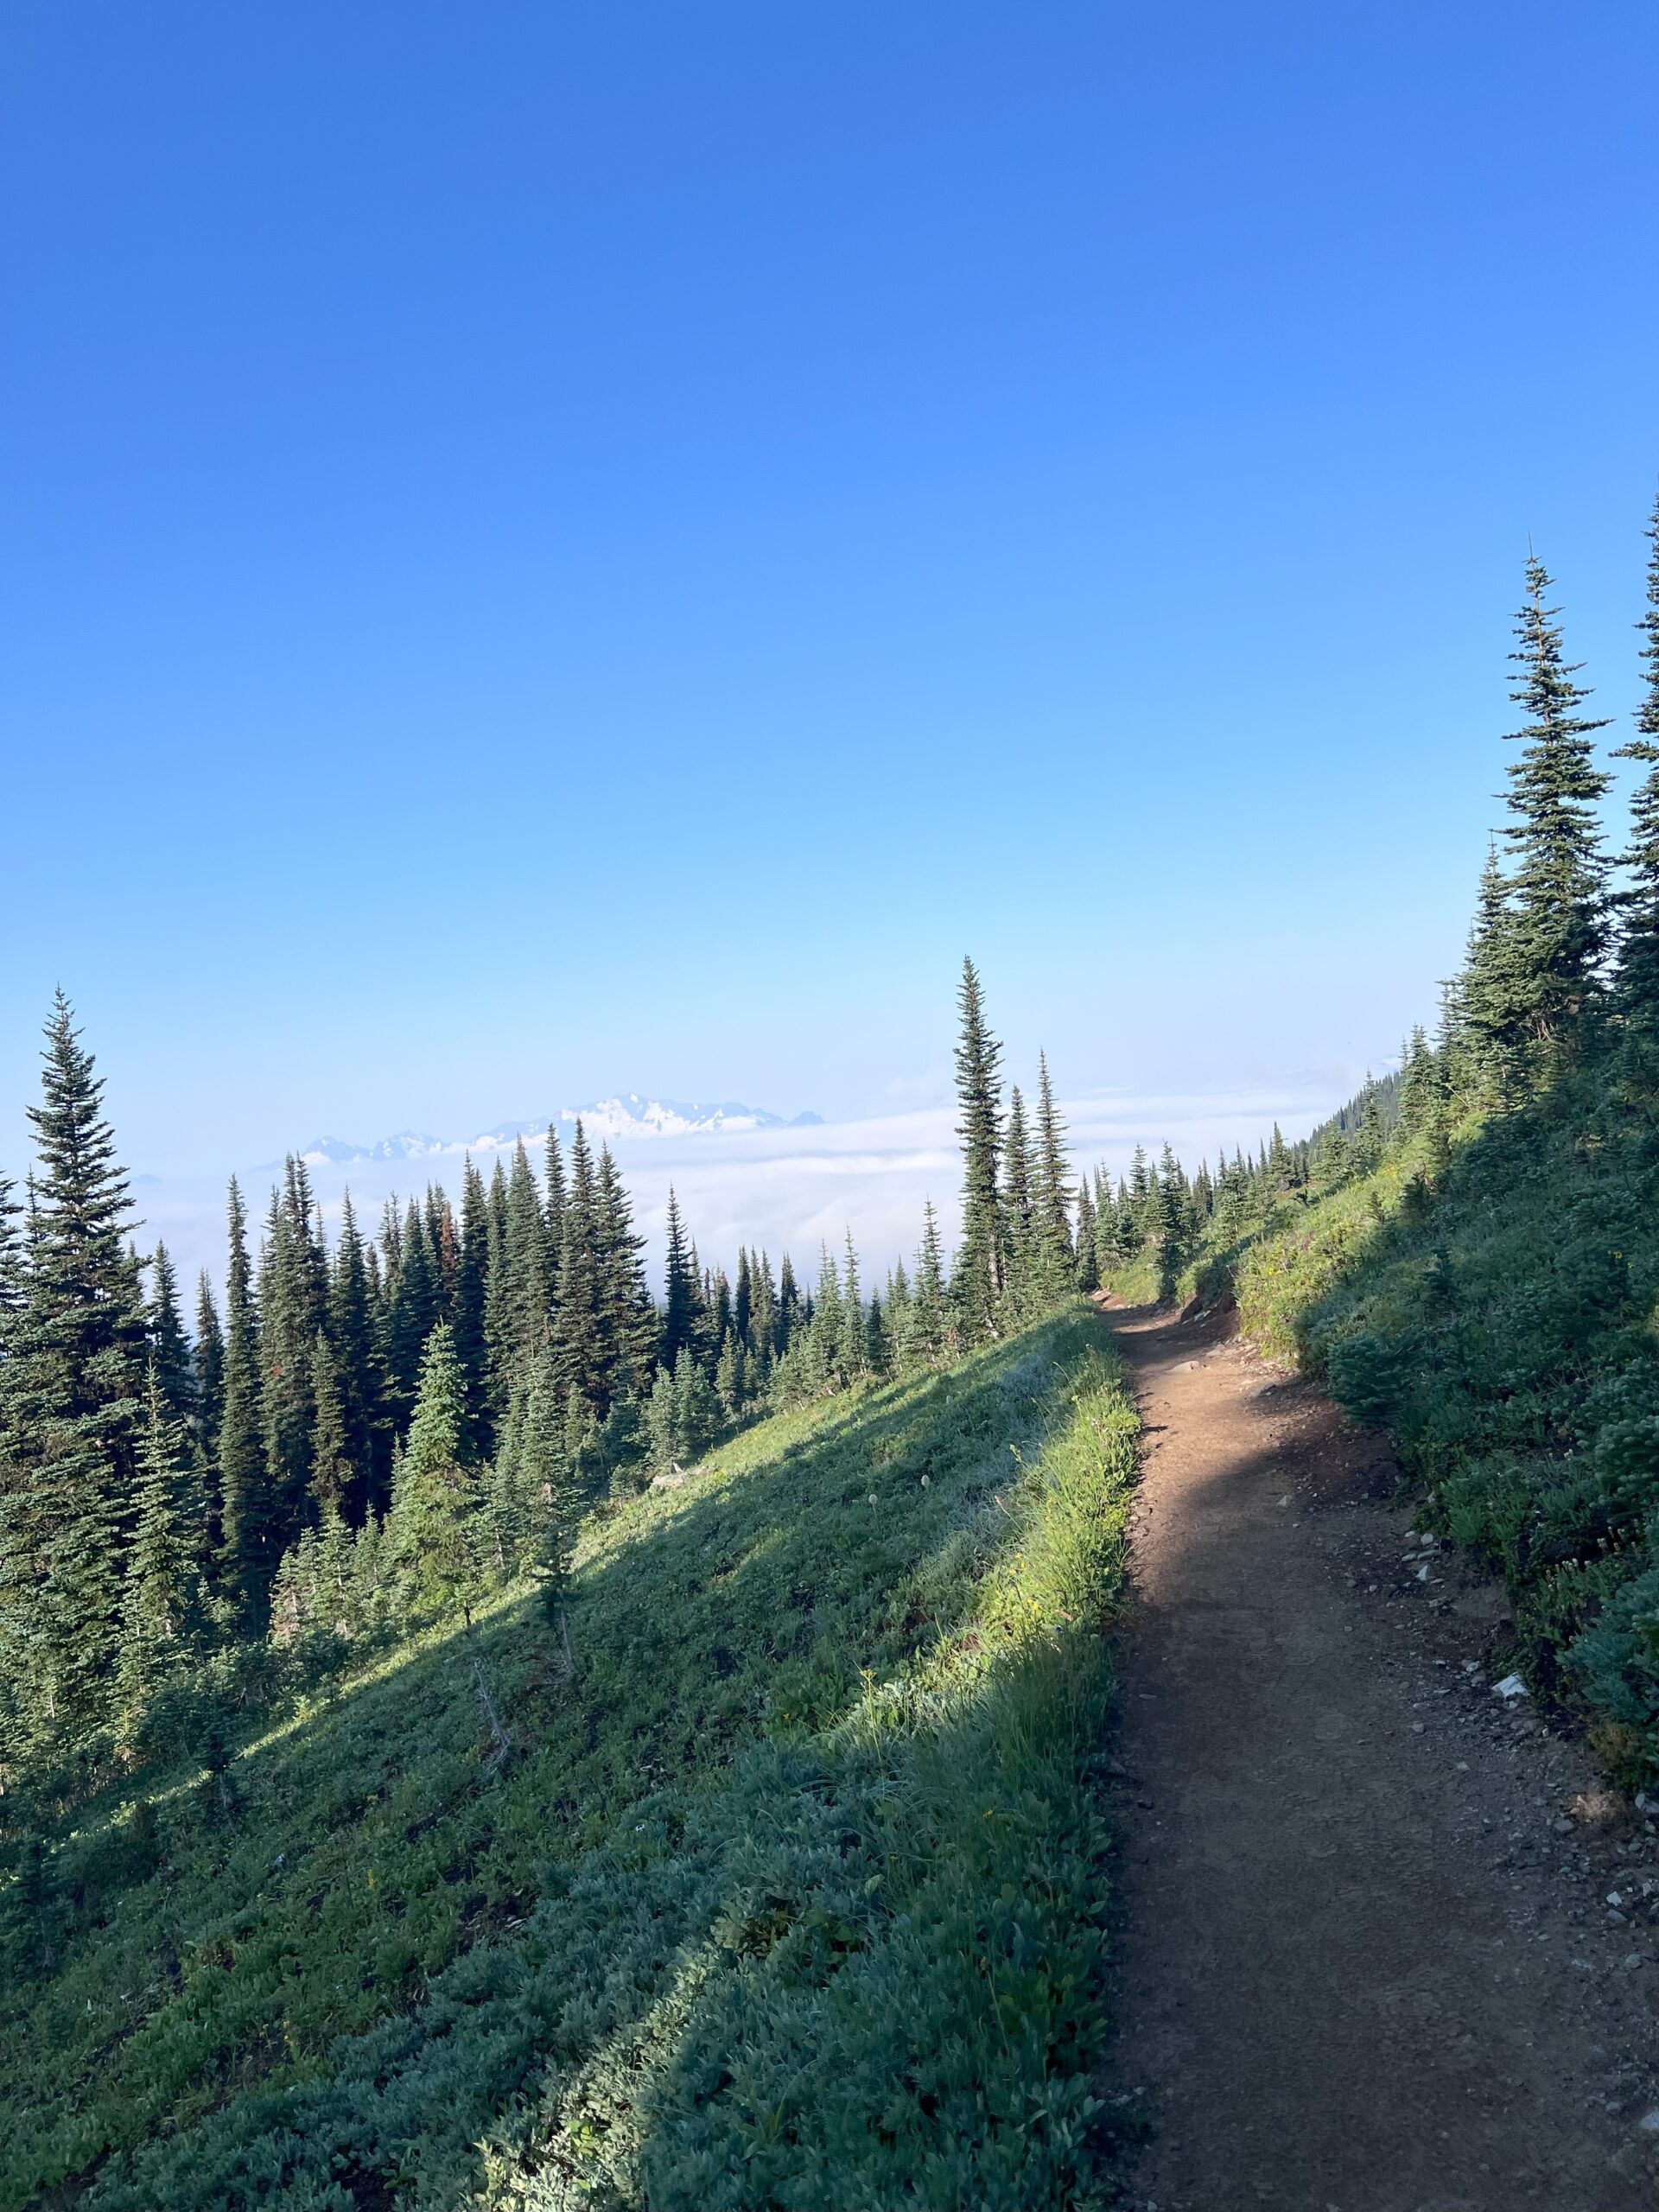
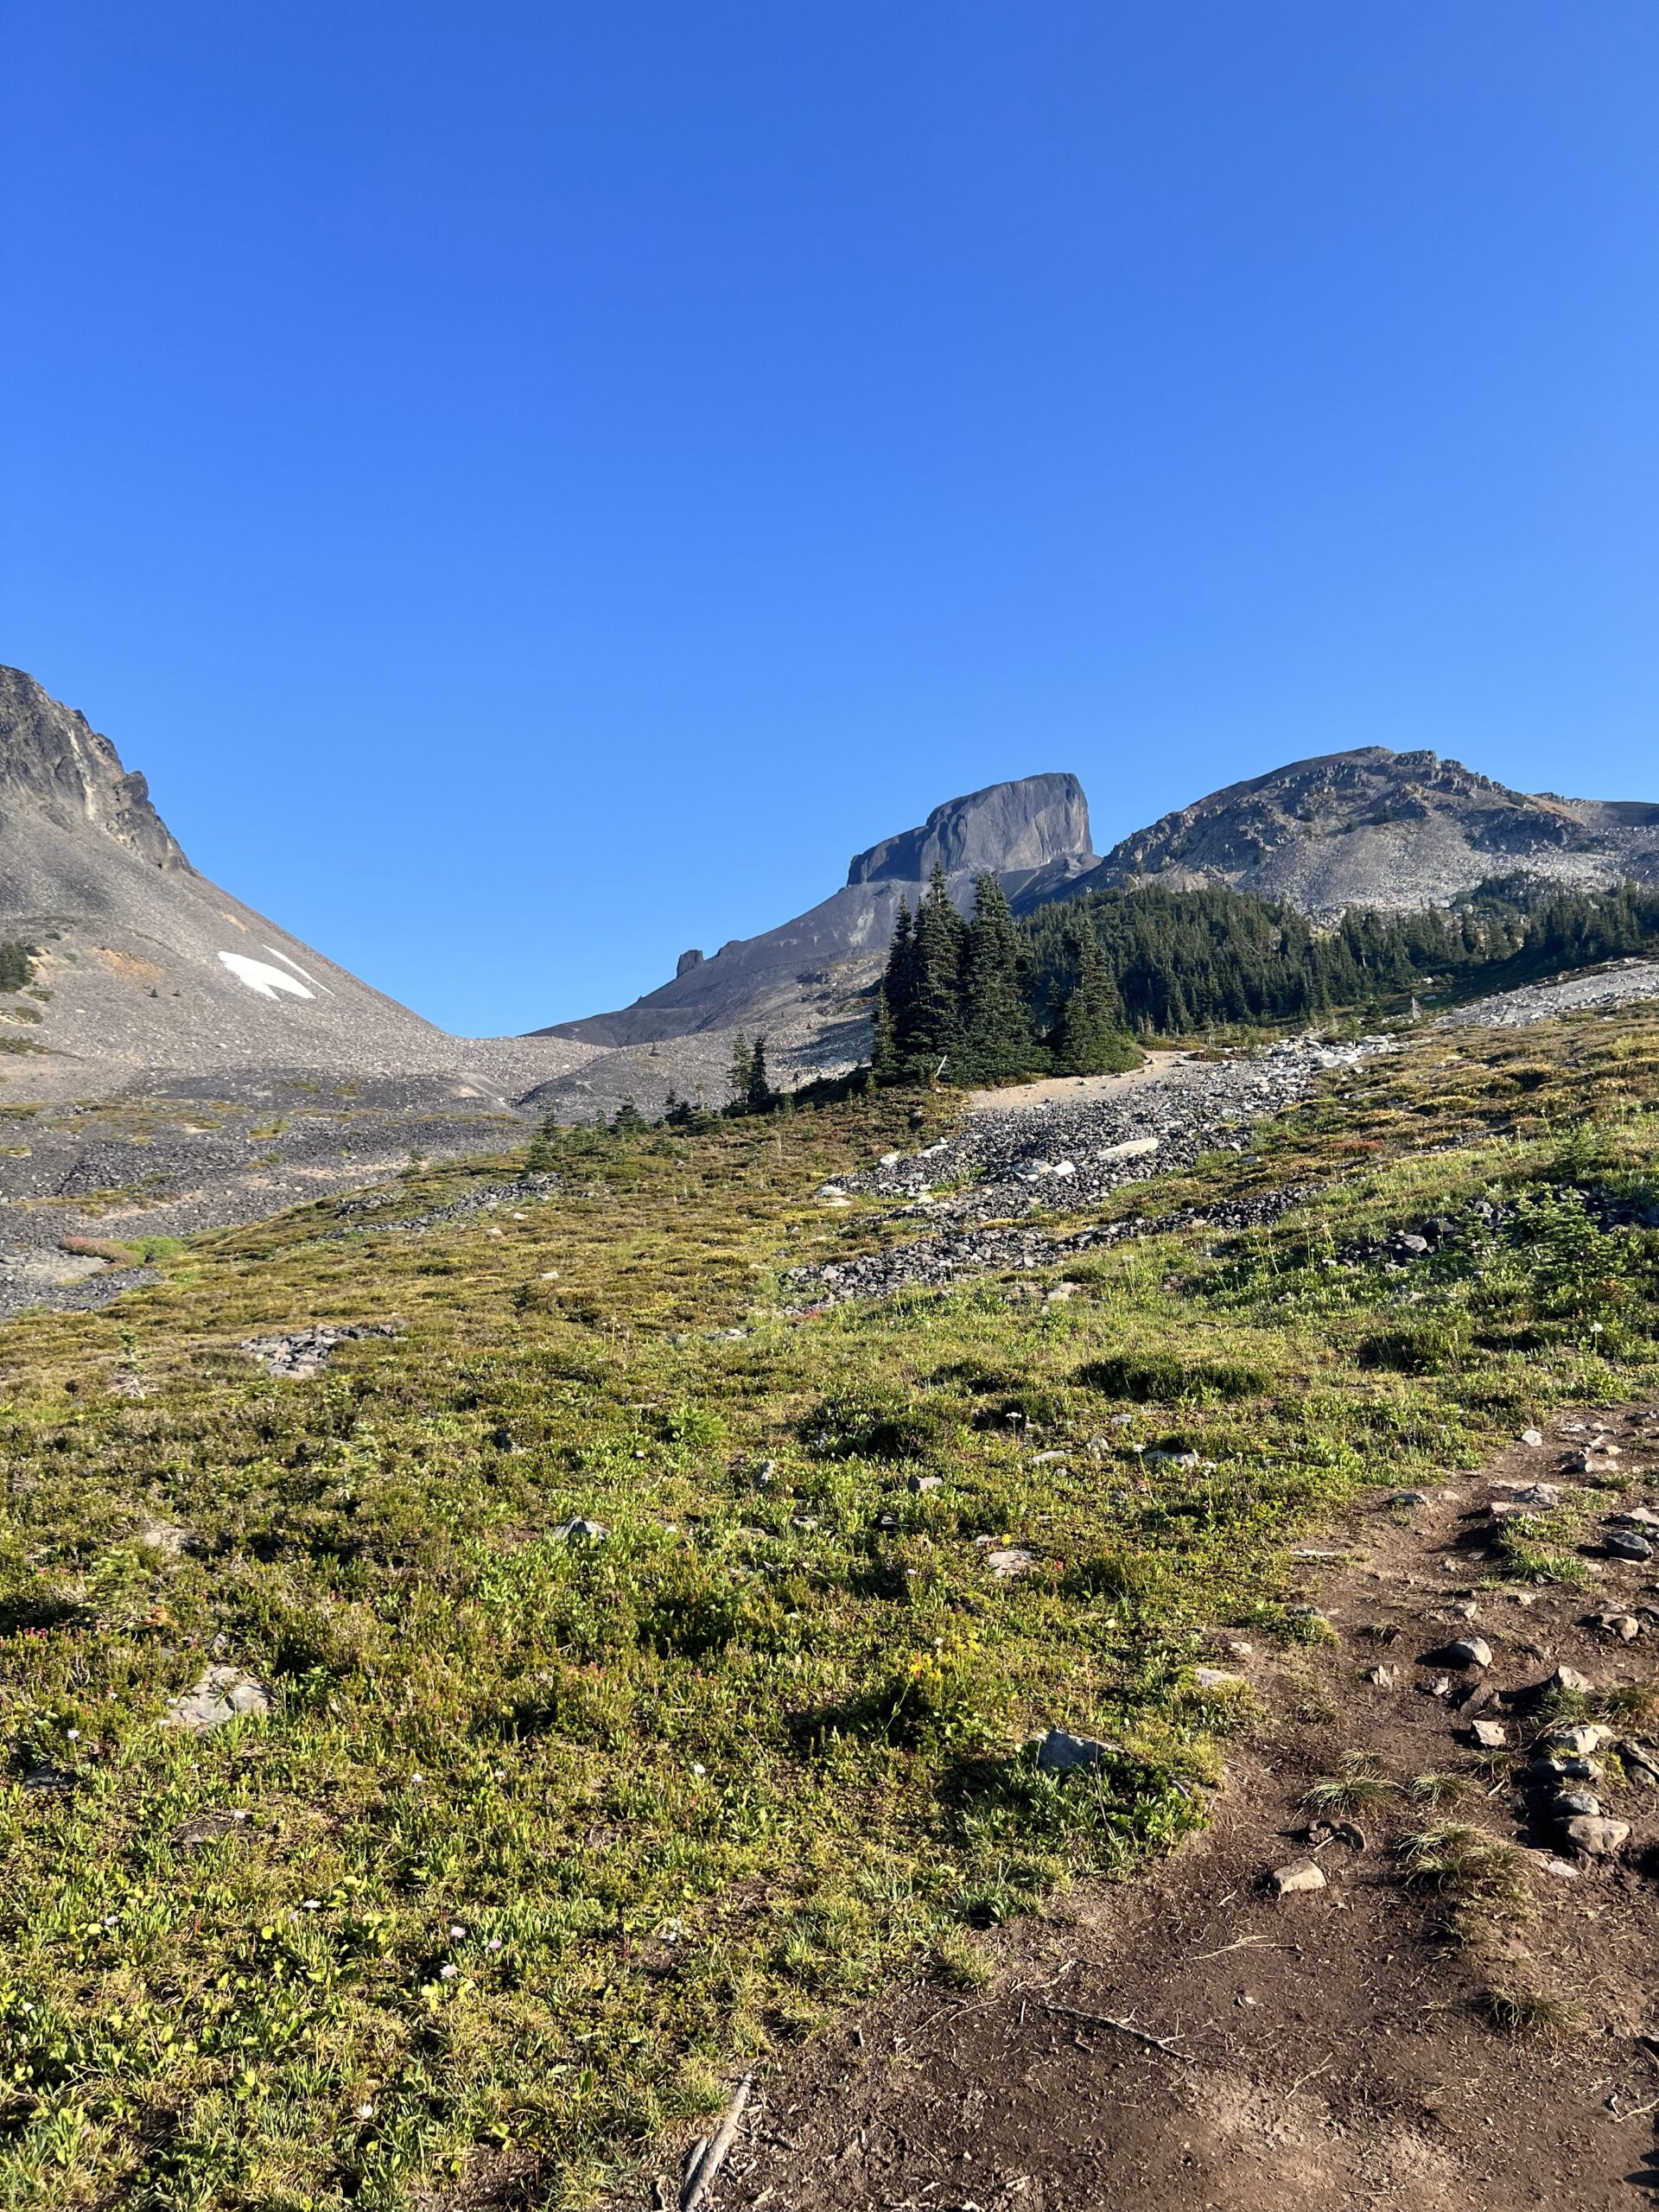
With that said, let’s get to the route description. Leaving the junction at 9.3 km (5.8 miles), you walk uphill in forested sections for a bit before you break above the tree line, and you’re left looking at uninterrupted views of the rest of the climb.
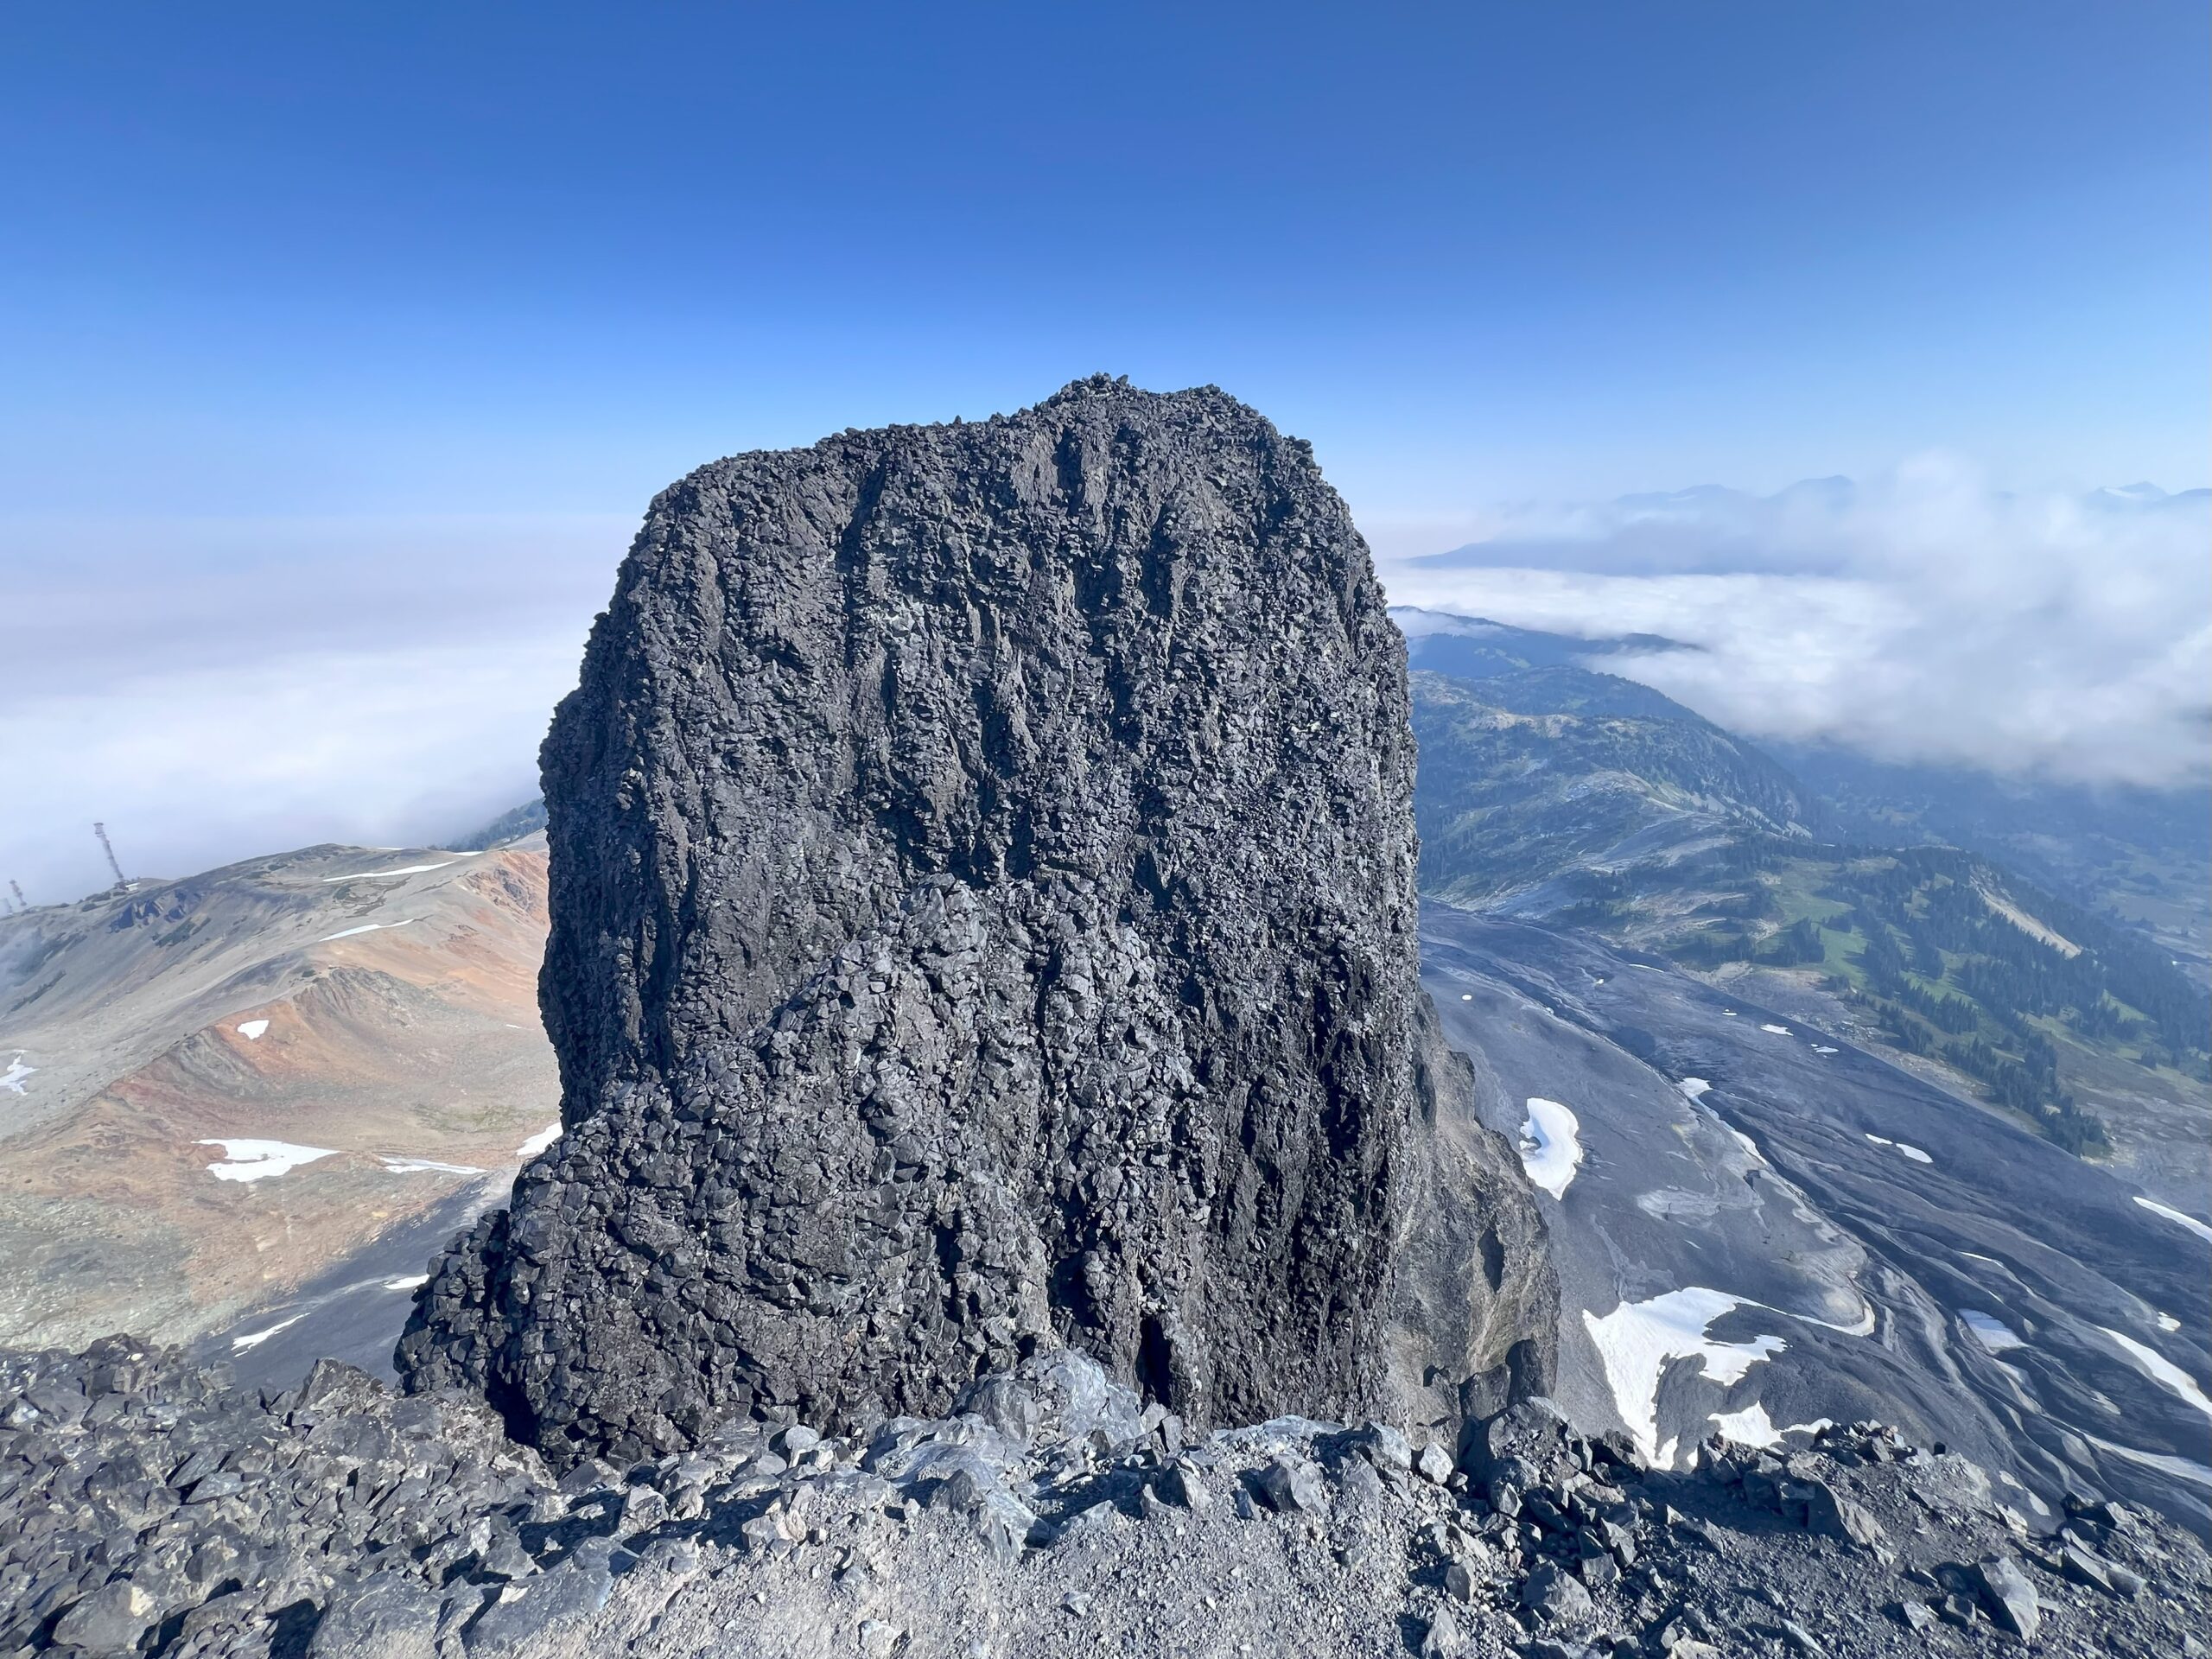
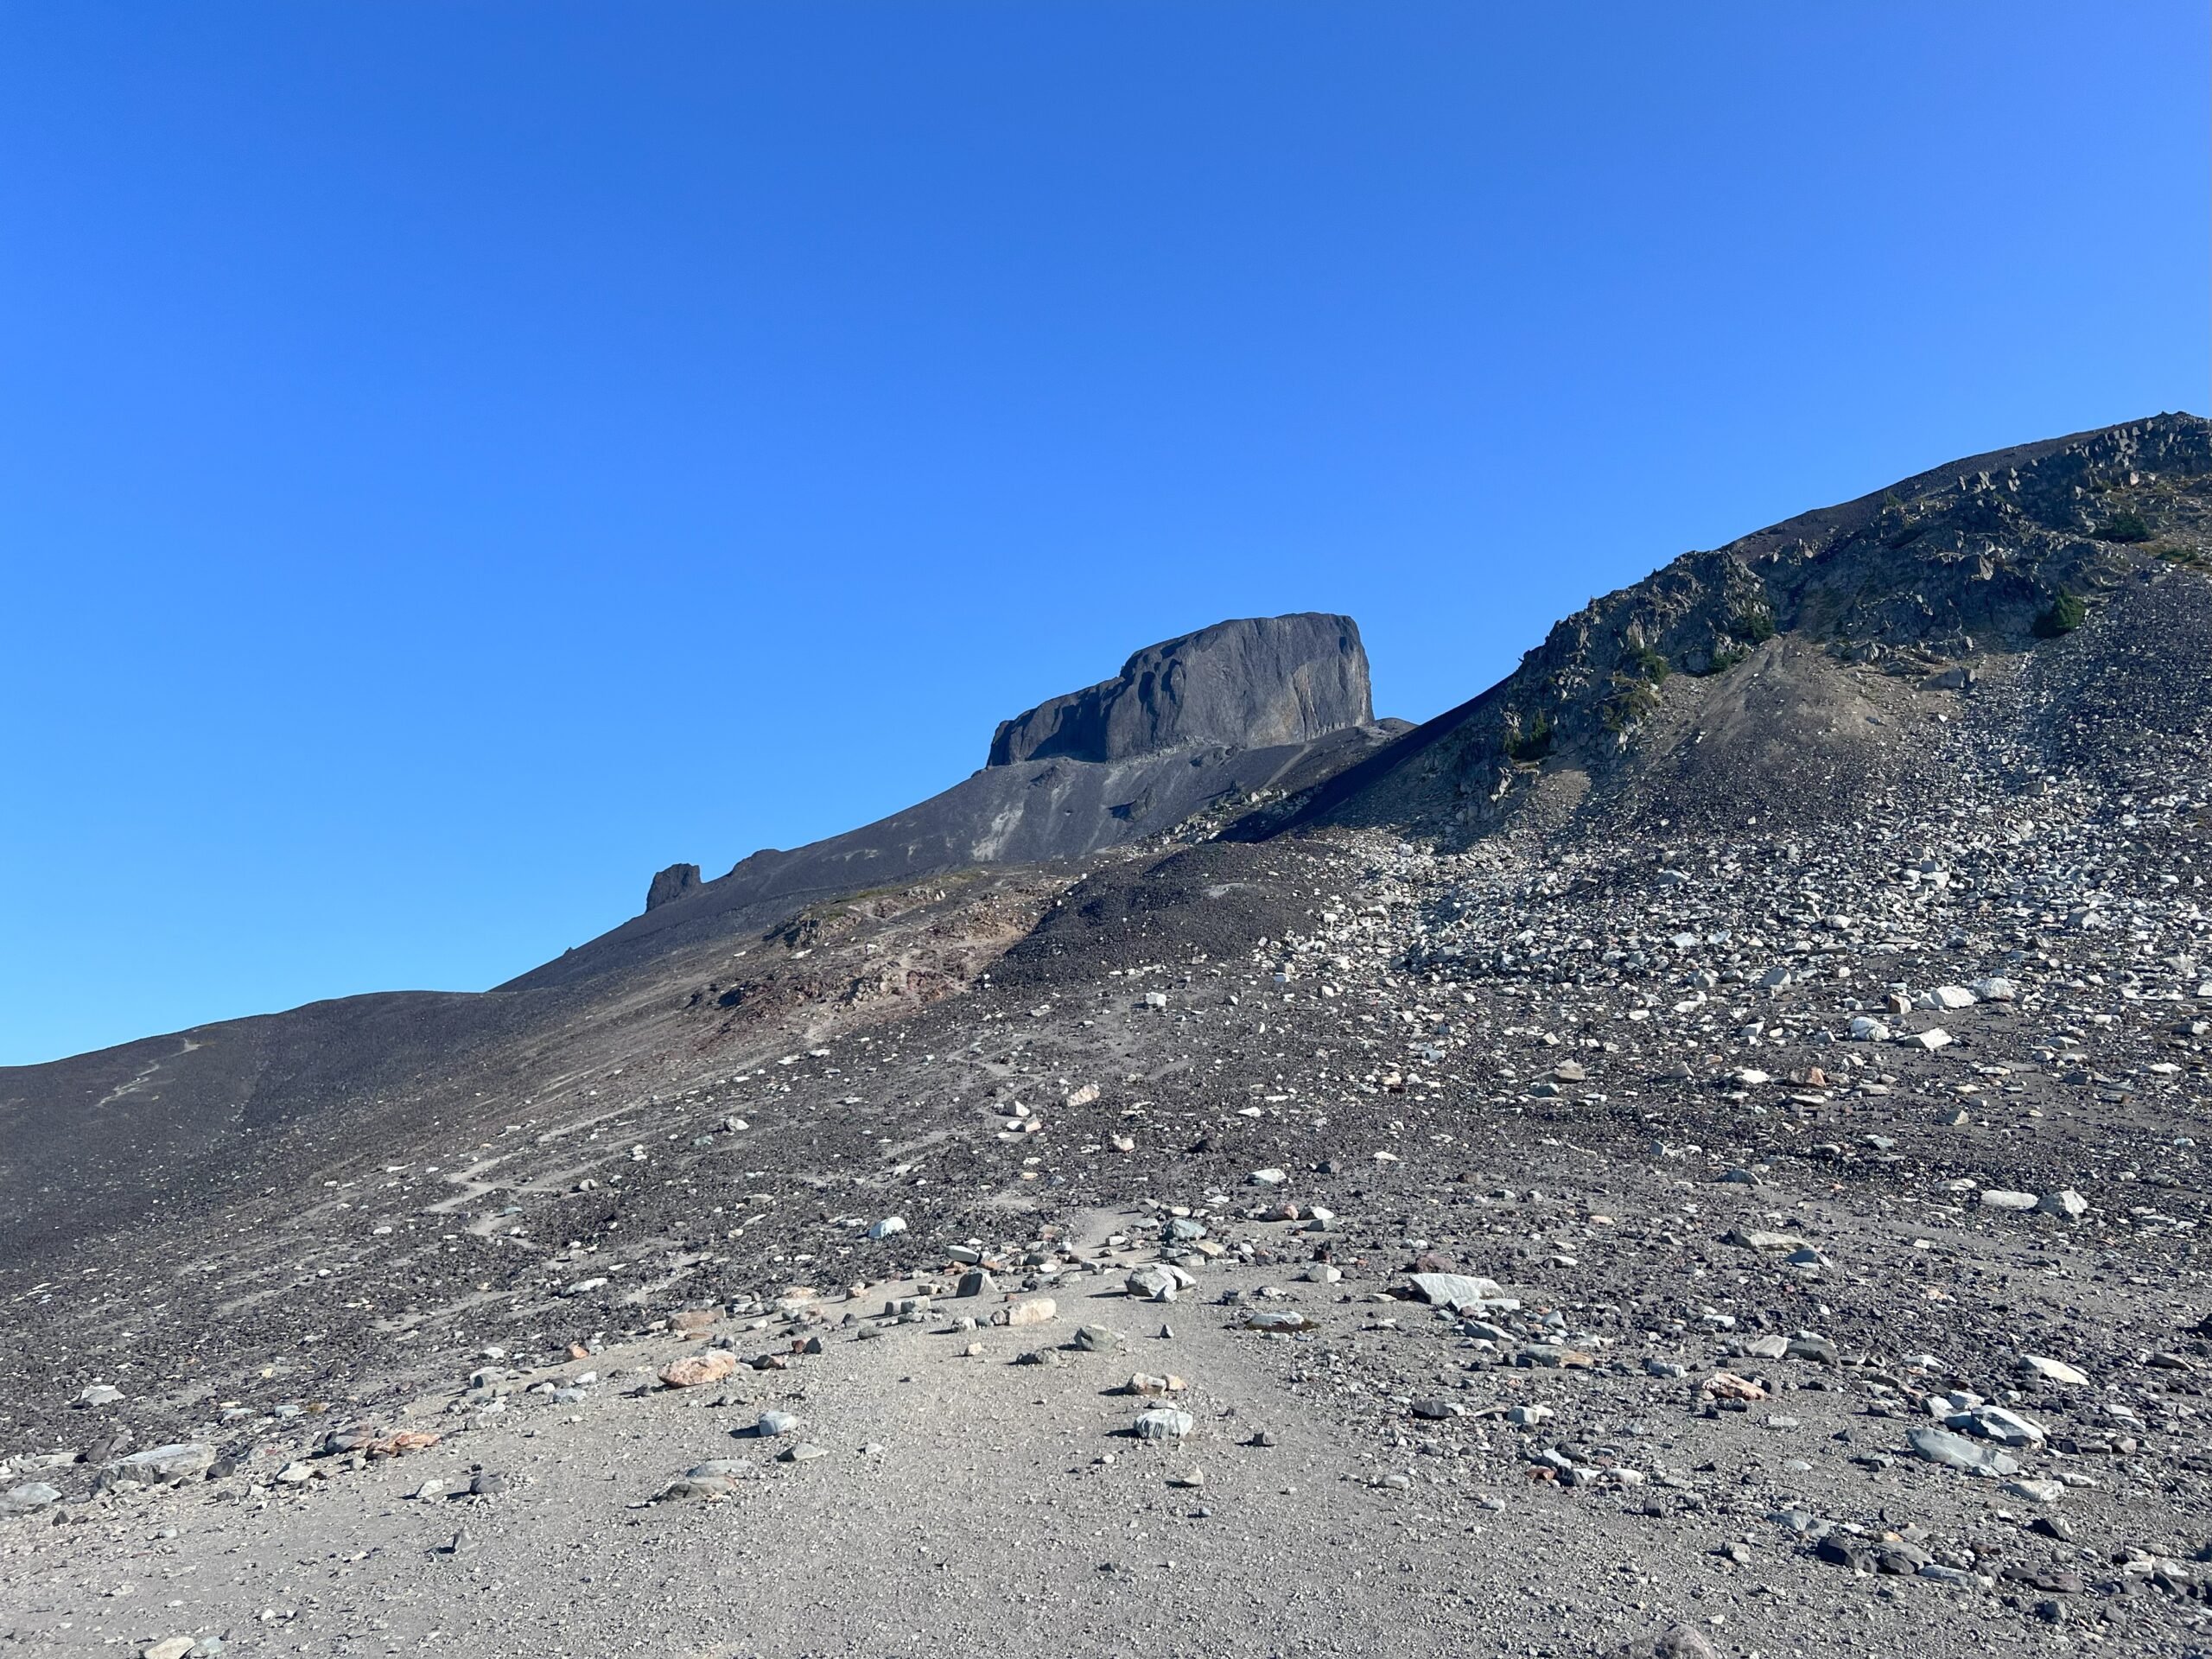
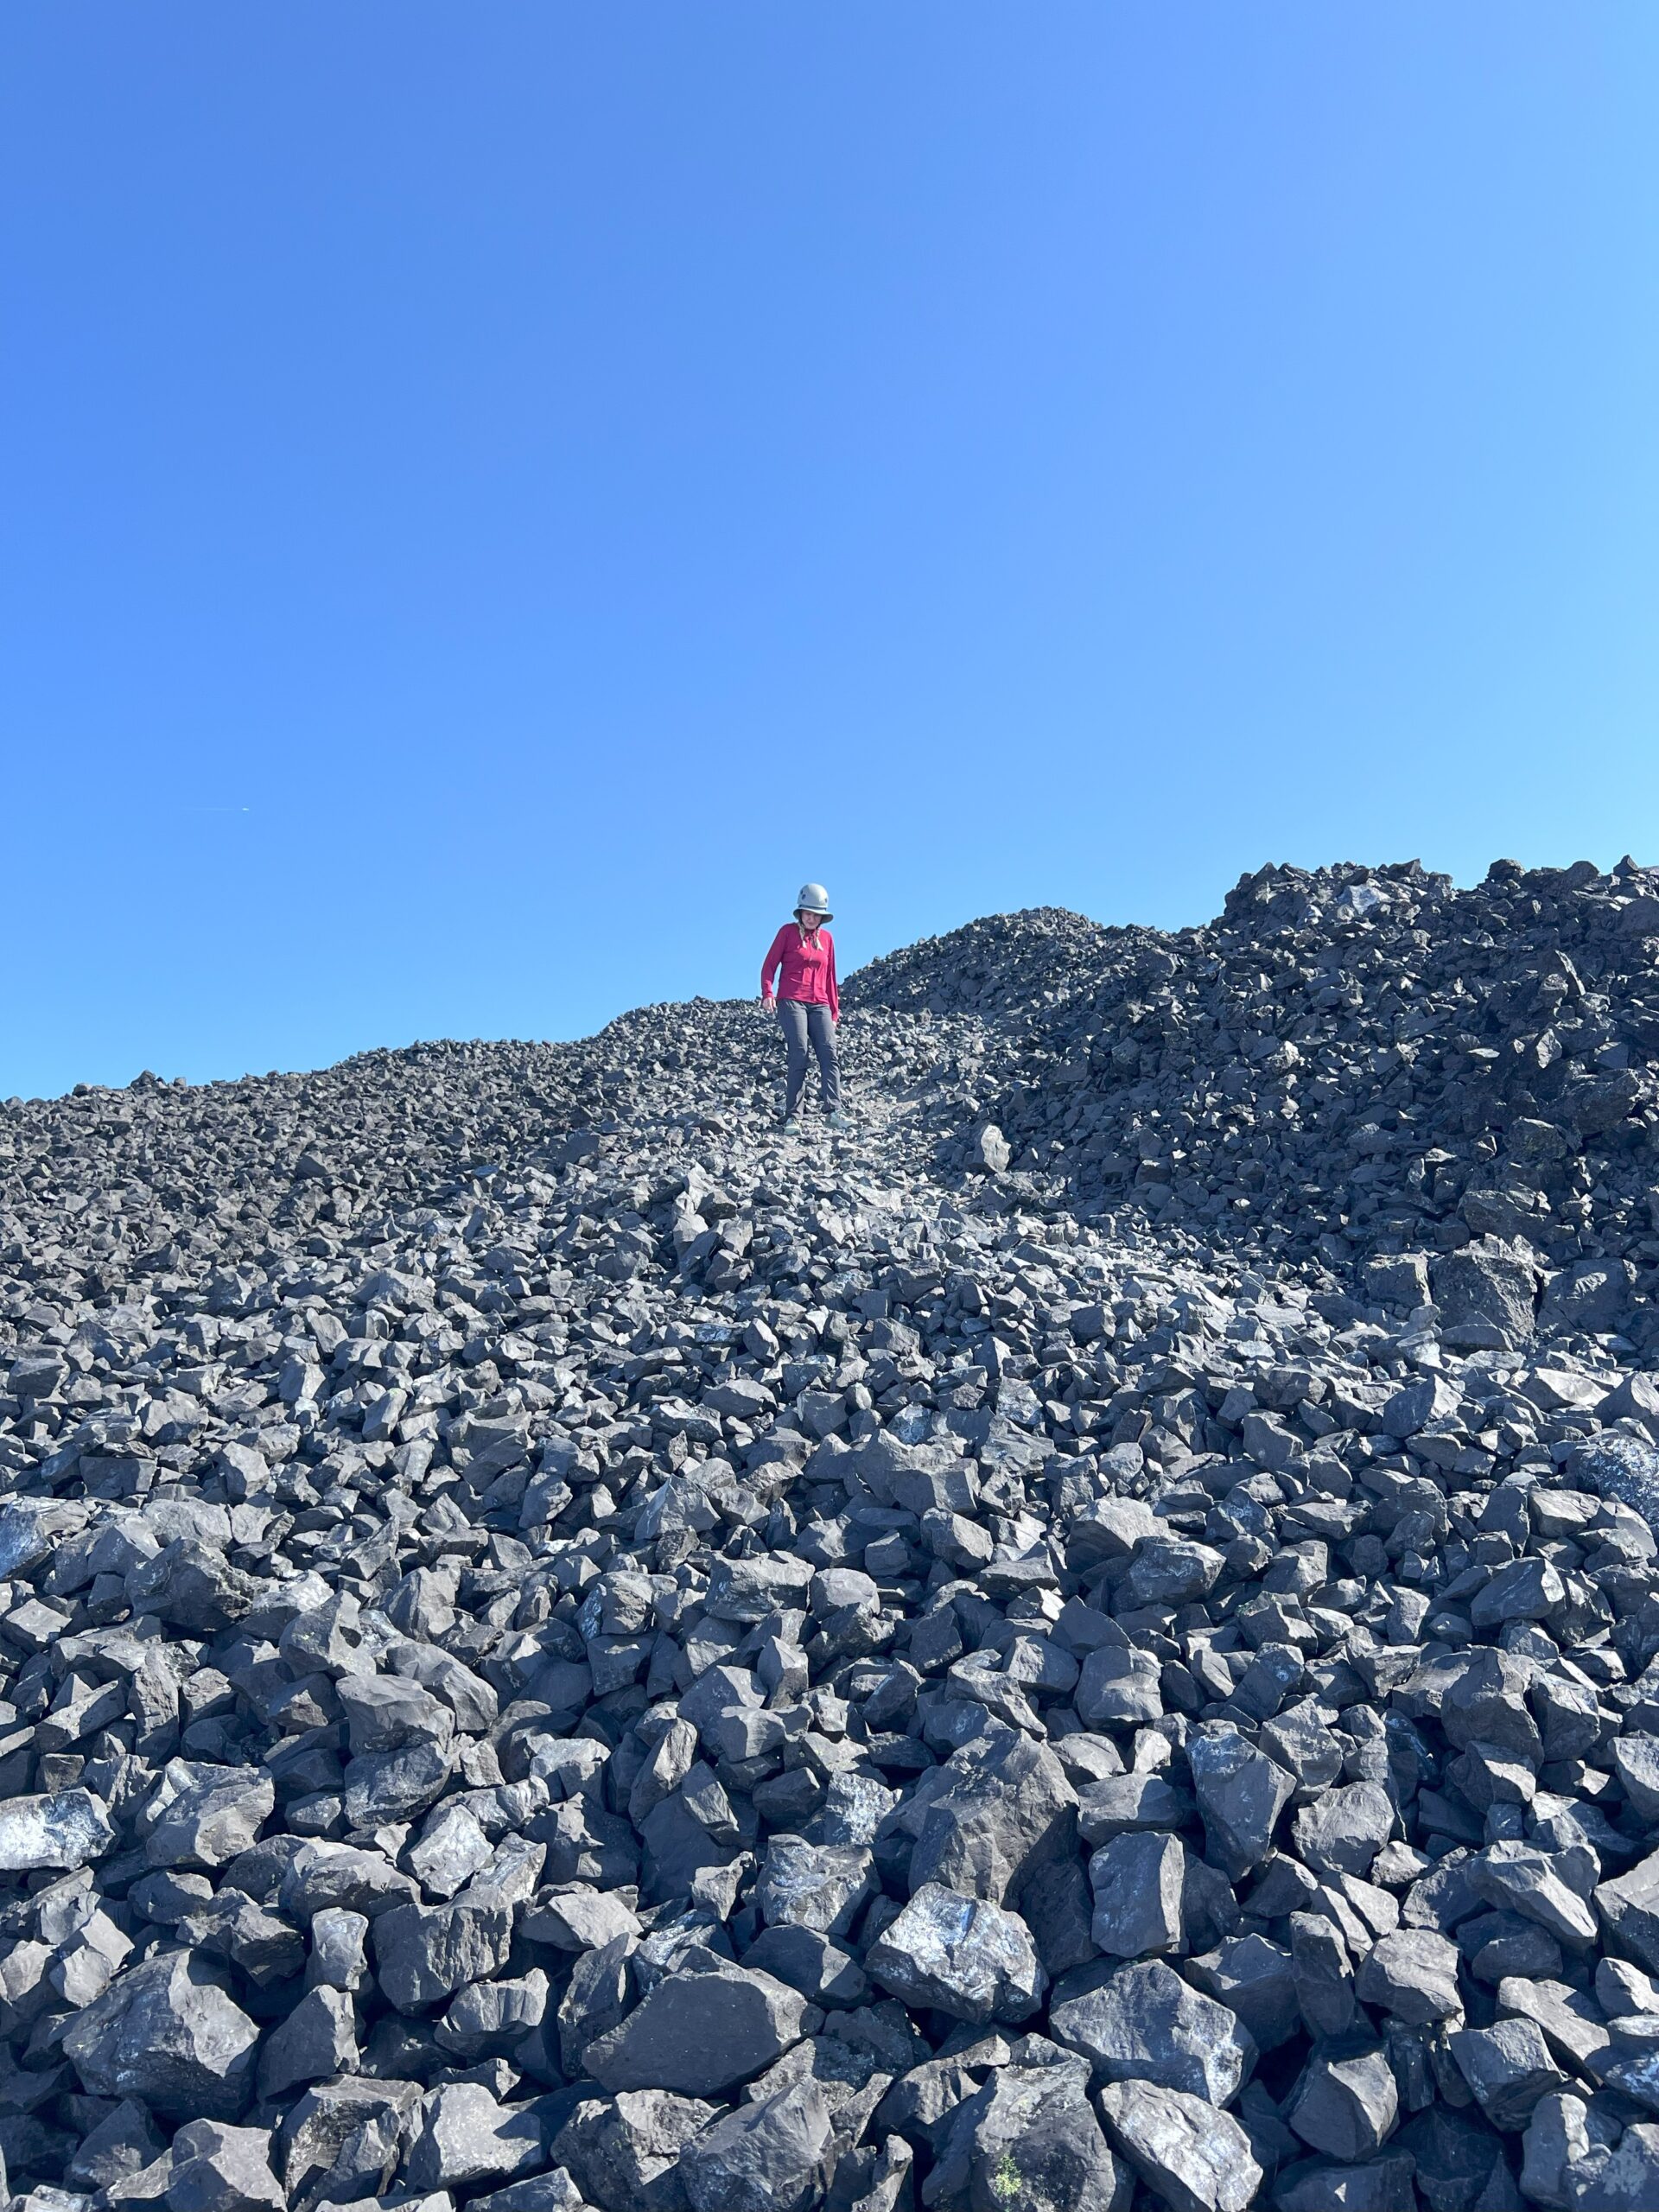
The route is relatively apparent until you get to the scree fields below the summit. In this section of the climb, remember that there are usually 2-3 different trails headed up the mountain that typically meet up at the same place. Your goal is to climb up these scree slopes by aiming to the right of the Black Tusks summit block pictured below.
The Traverse
Once you reach the top of the scree fields, you will find yourself below the summit block and on the right. From here, you will need to traverse underneath the summit block. Referring to my picture, you must go directly under the summit block from the right side and run to the left.
This section is extremely rocky and full of loose scree. We decided to use our helmets from this point on. The summit block is full of crumbling rock, and helmets can help mitigate the risk of potential rockfall.
Your goal is to wrap around the summit block to reach the far left chimney. You will come across the first chimney which you want to avoid. Keep traversing past this first chimney until you reach the one marked with flags showing the correct route.
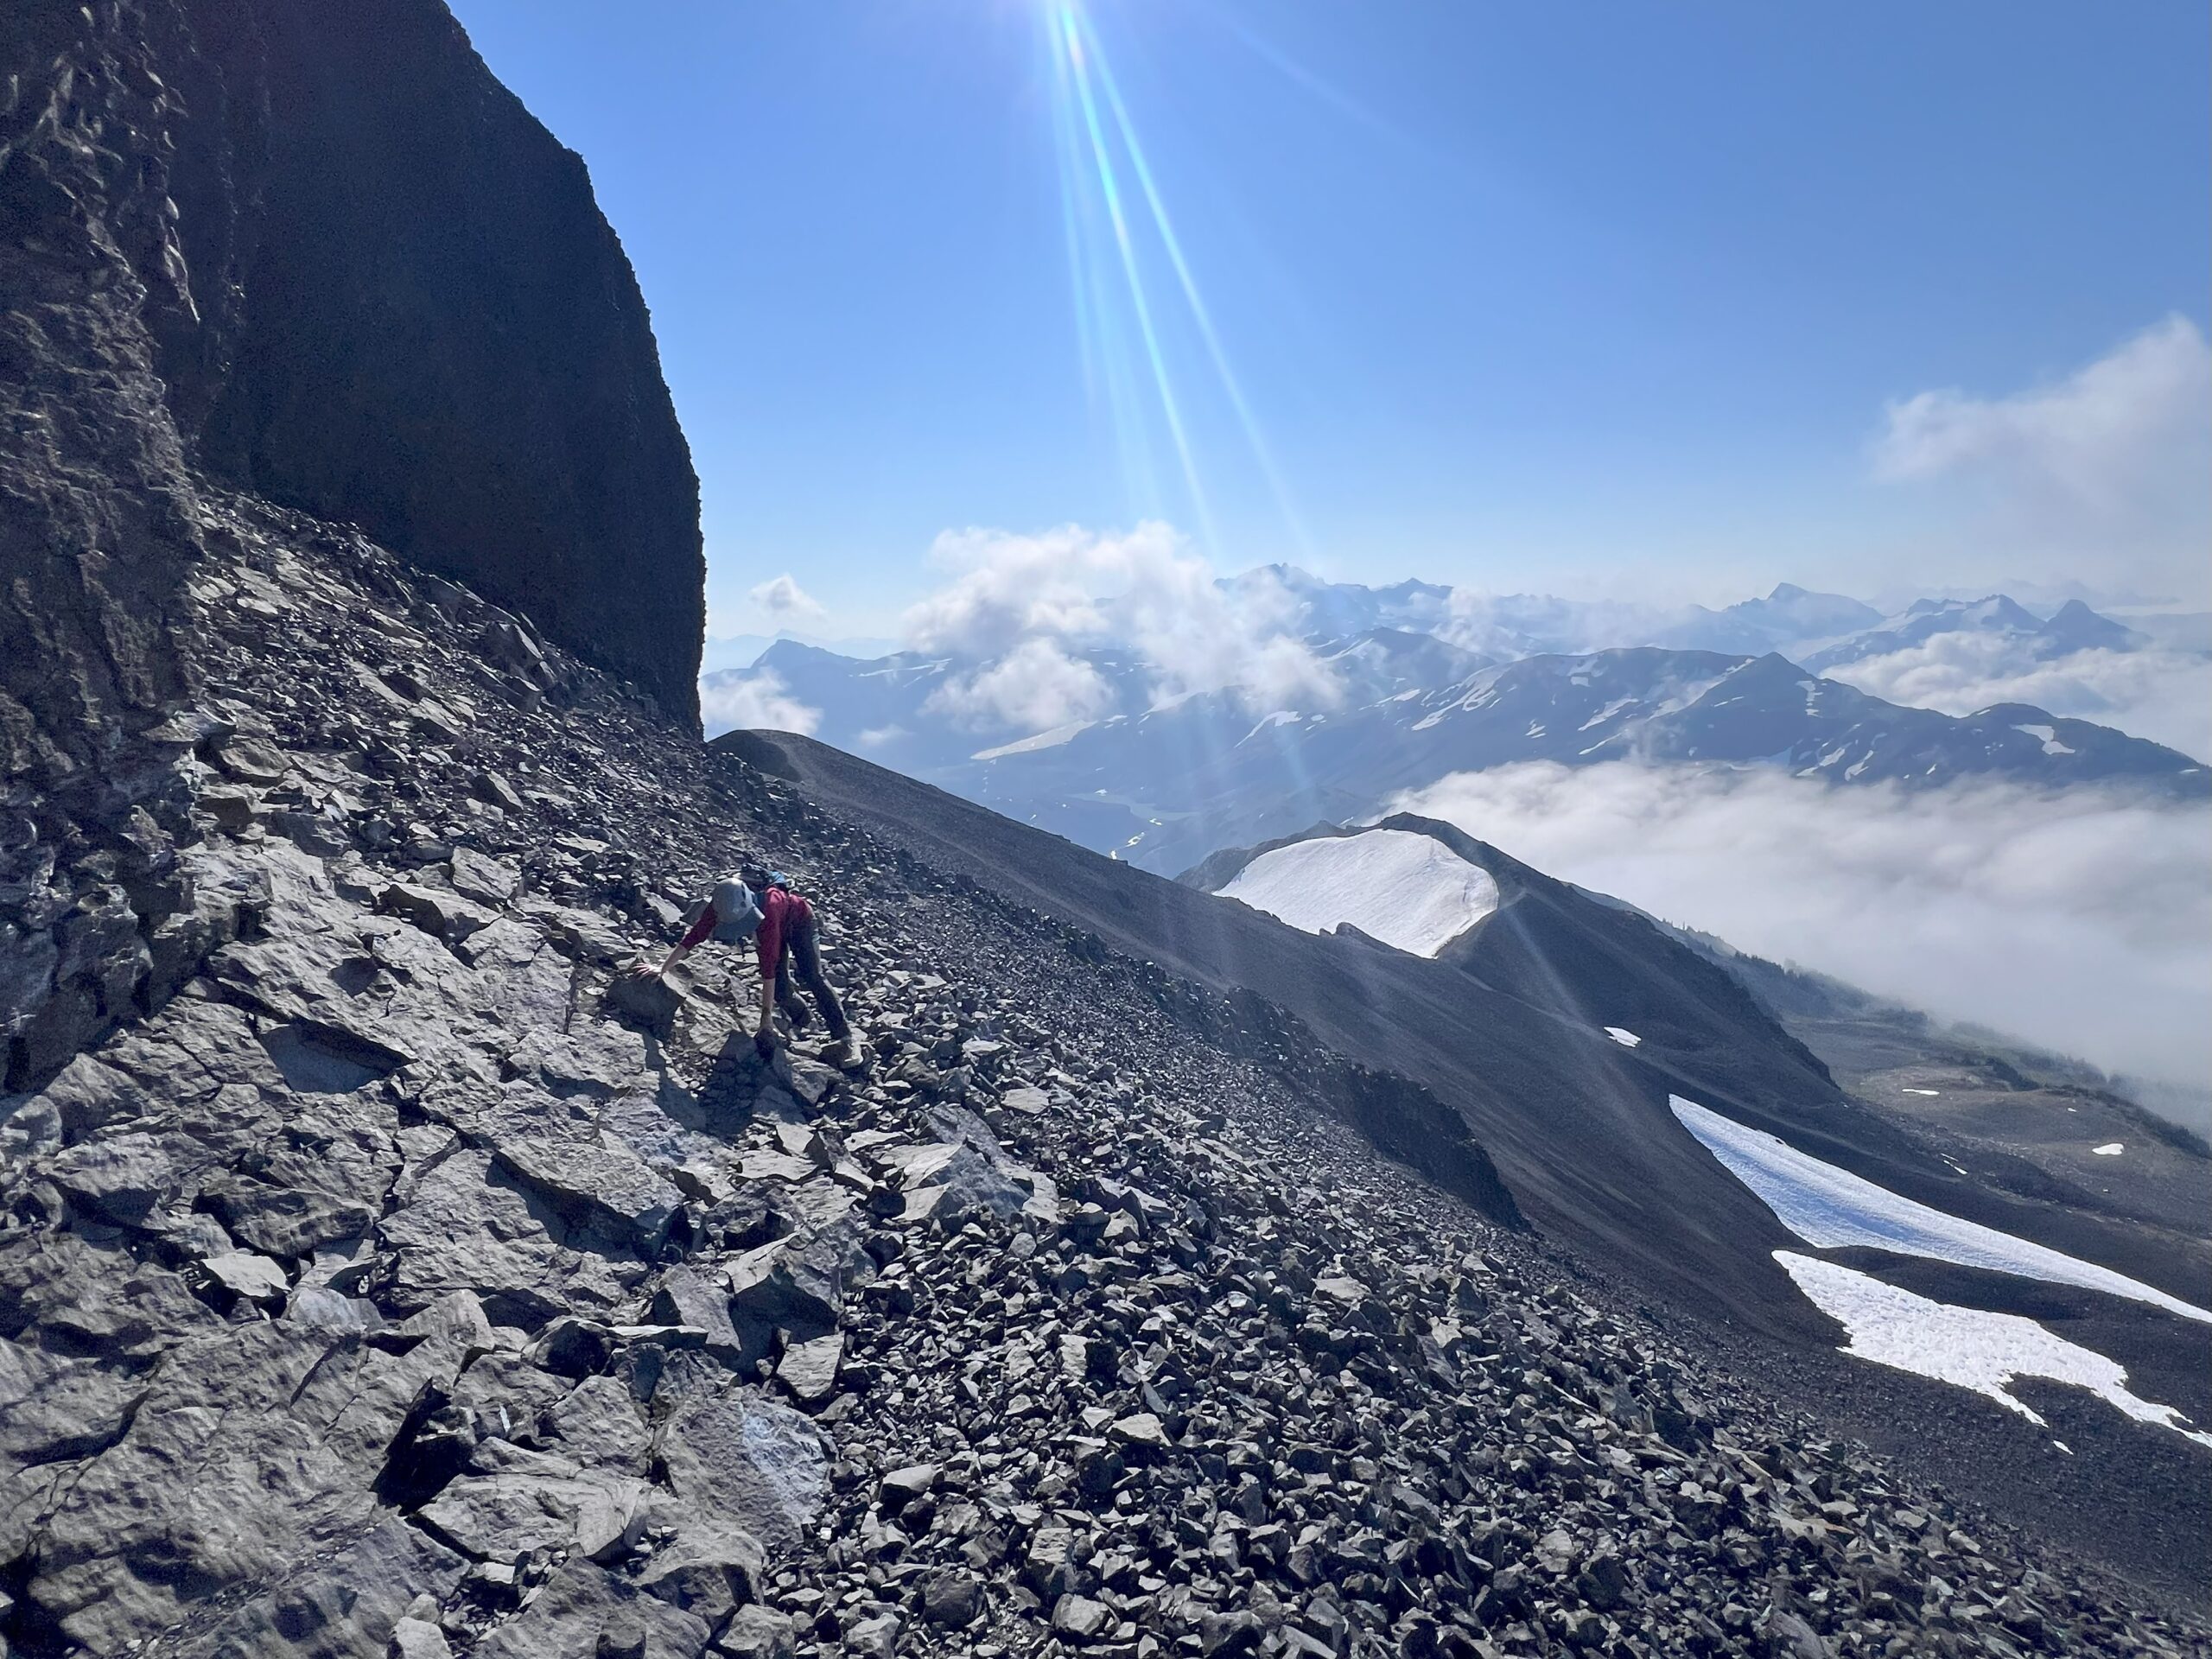
Showing the traverse from underneath the summit block
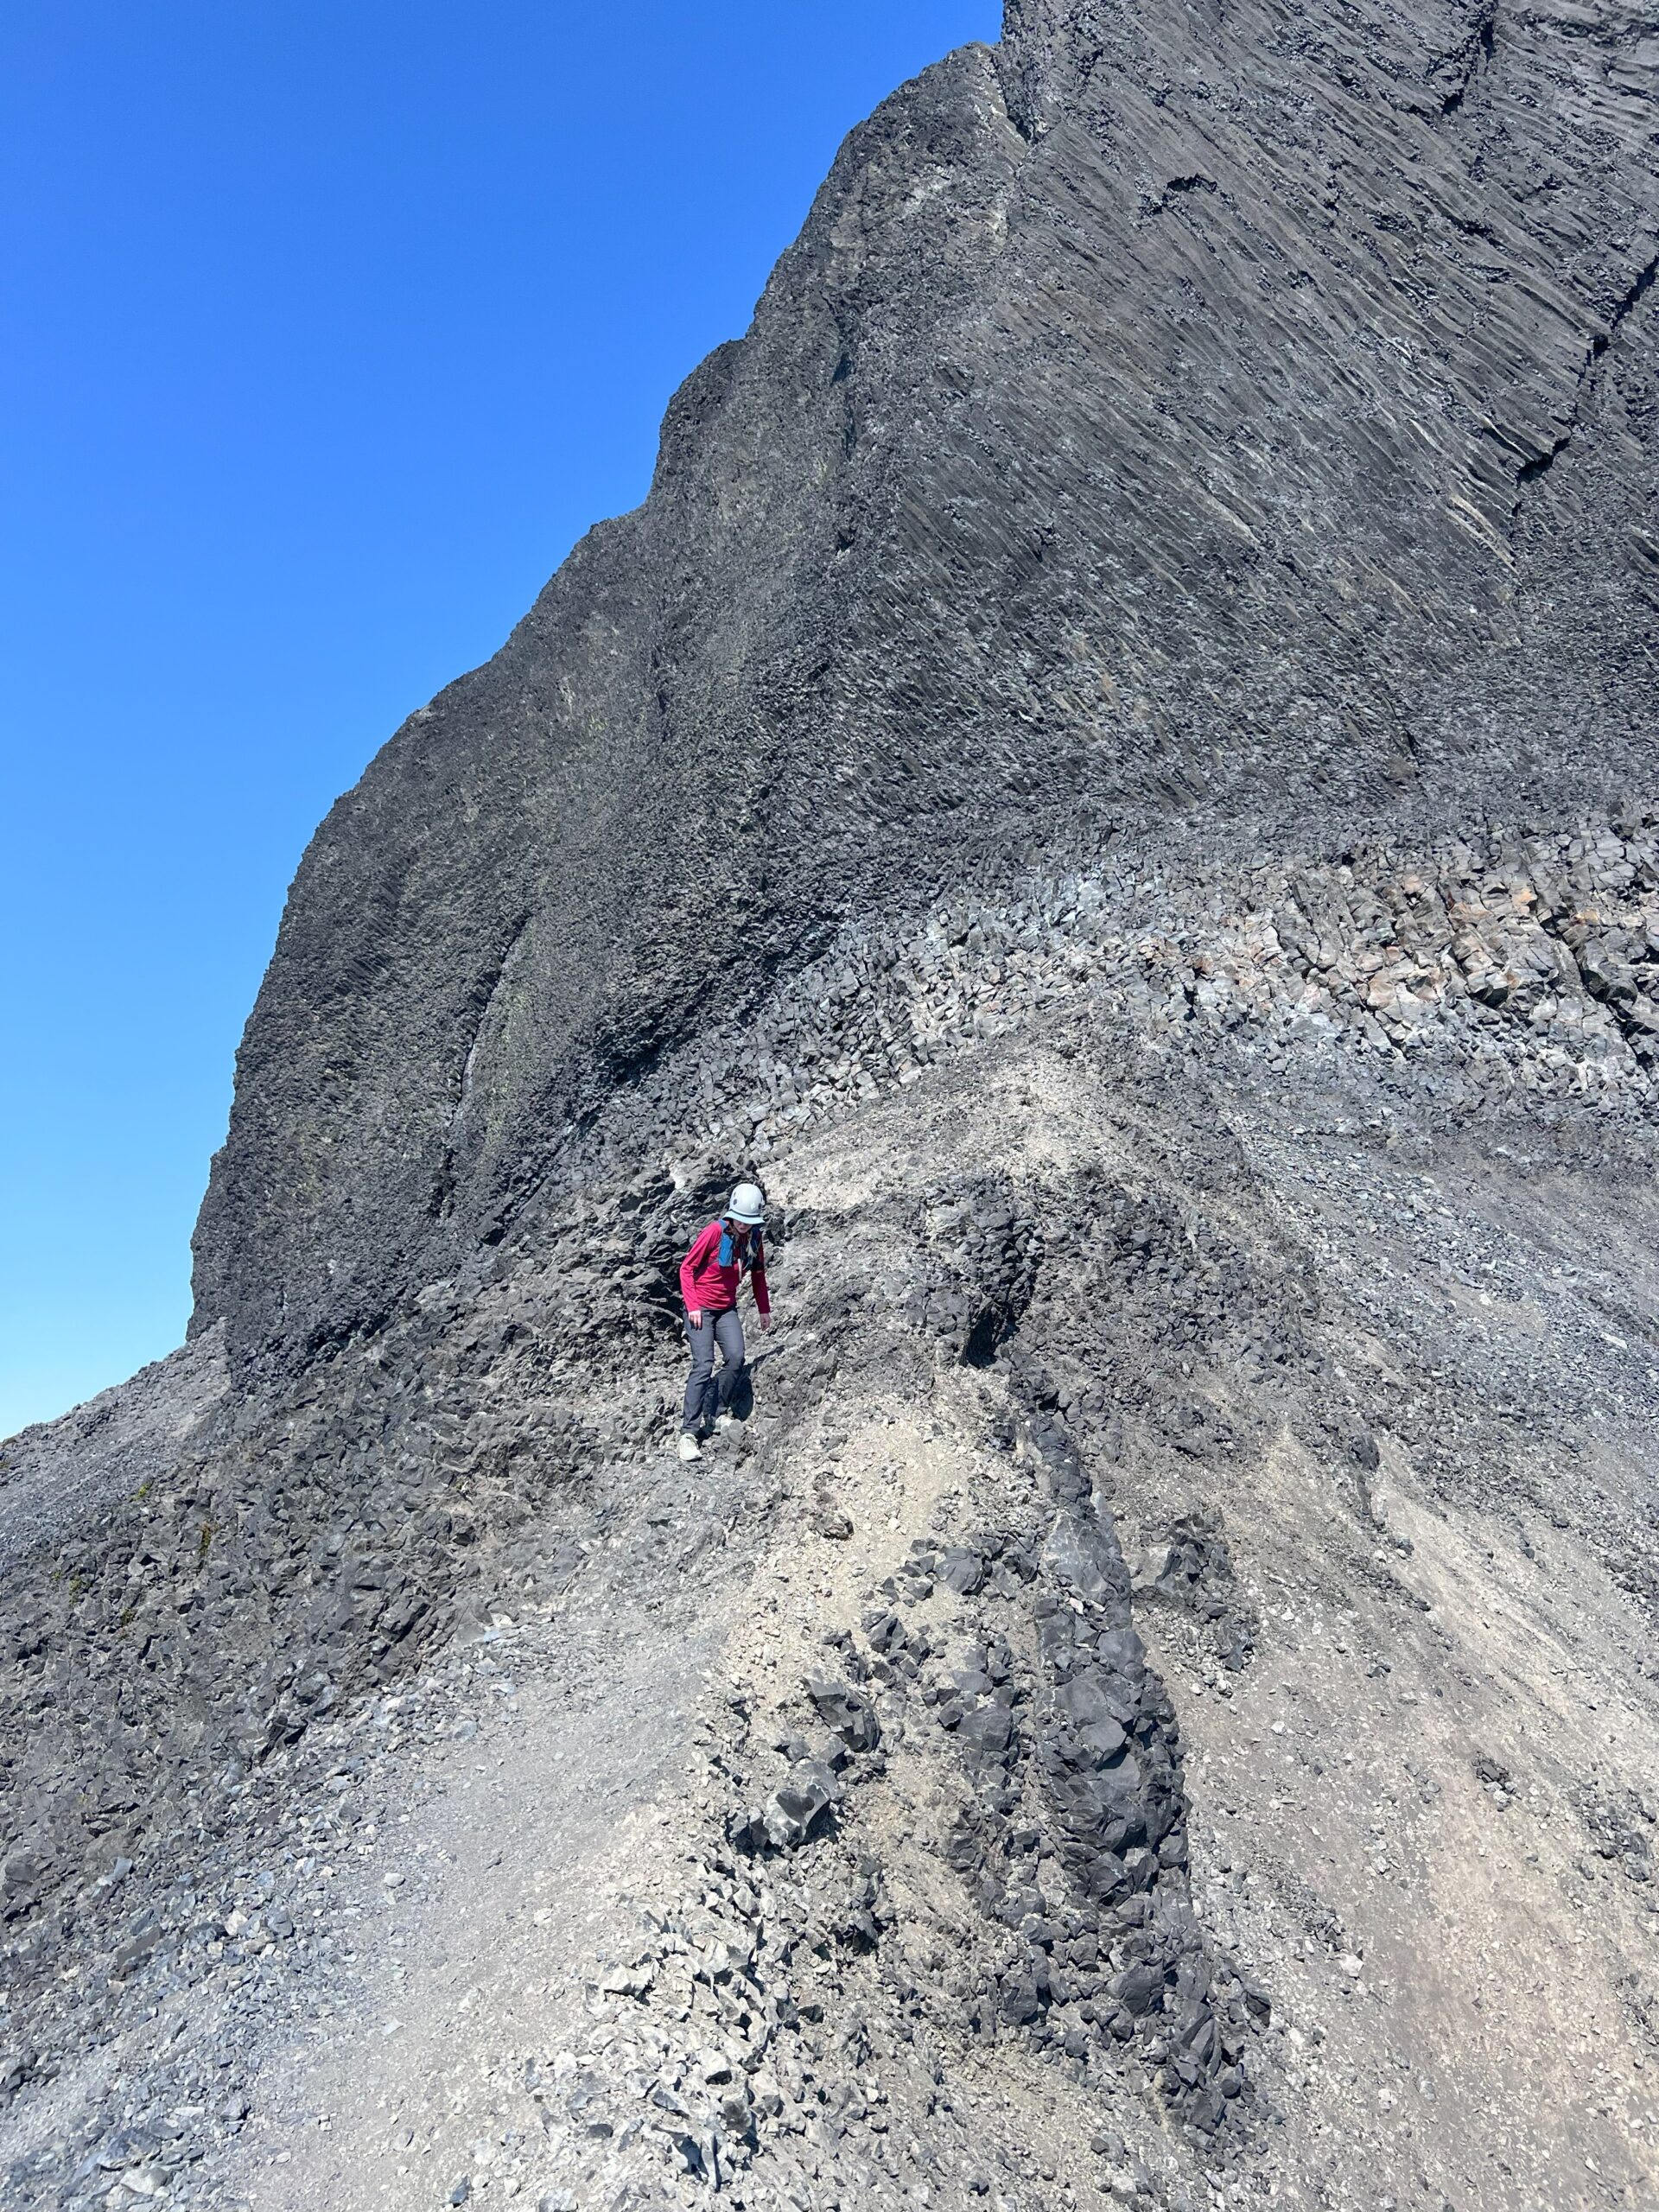
Showing the start of the traverse
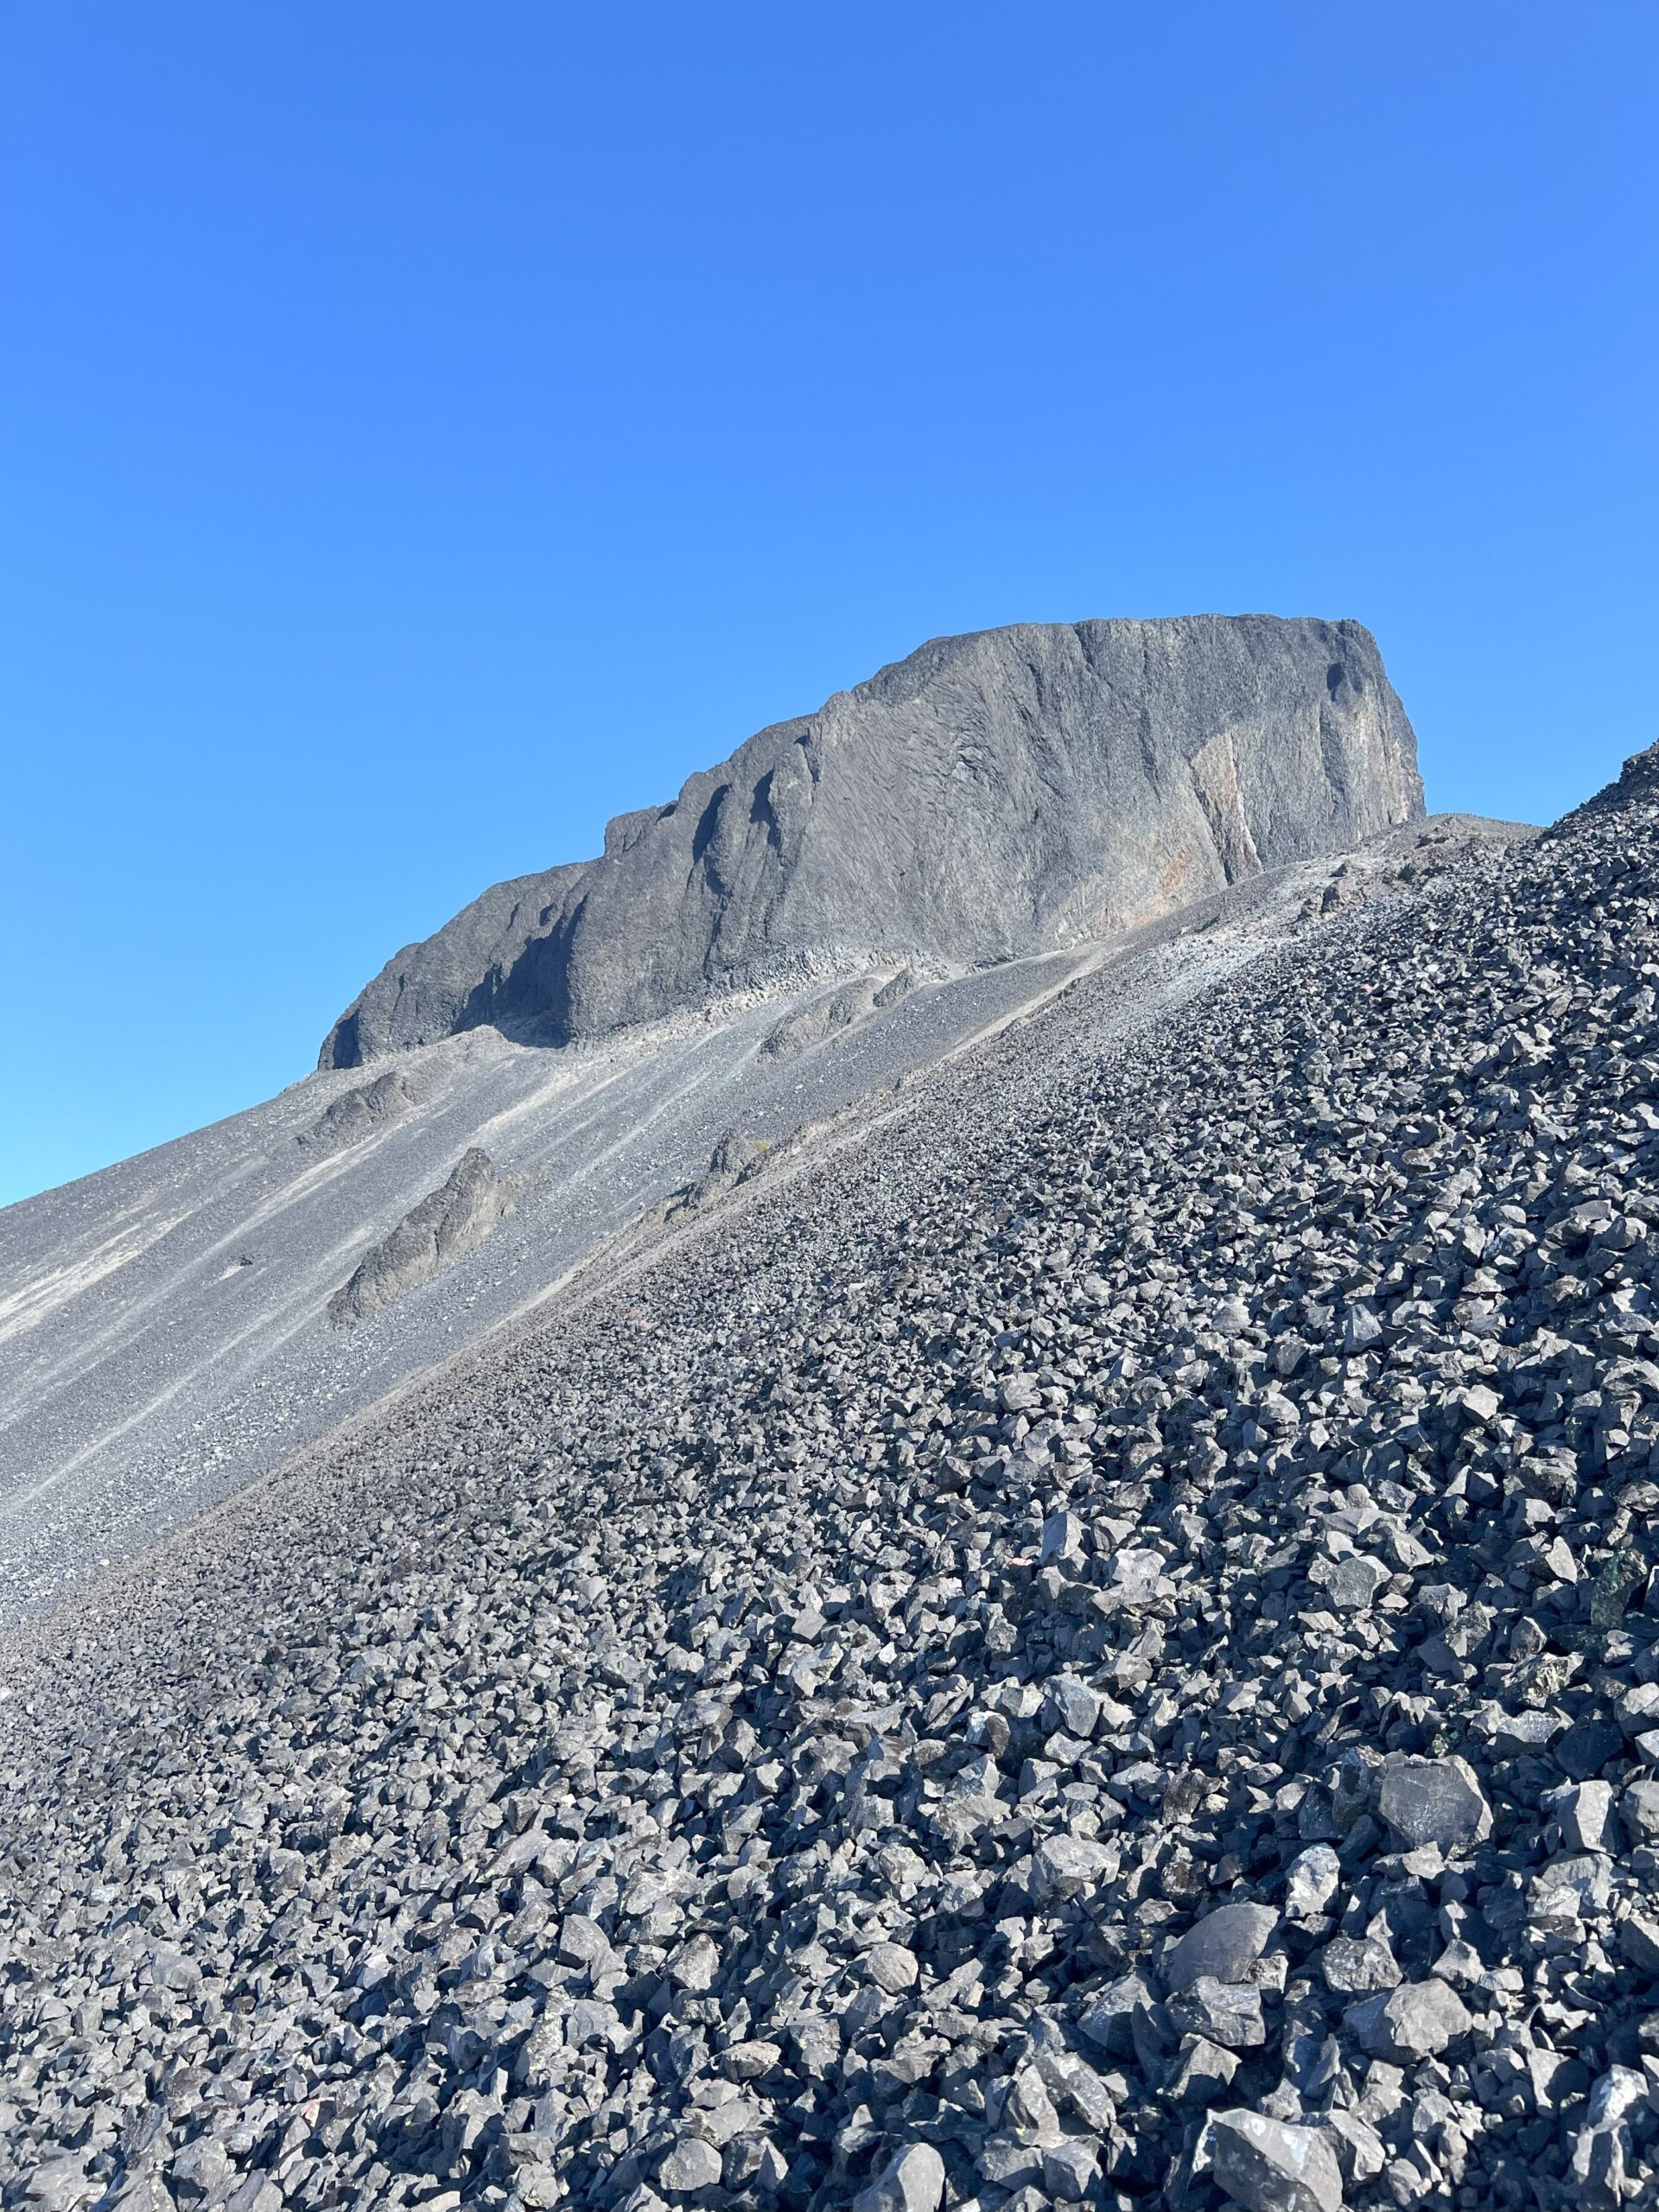
Showing the whole traverse from the upper scree slopes
The Scramble
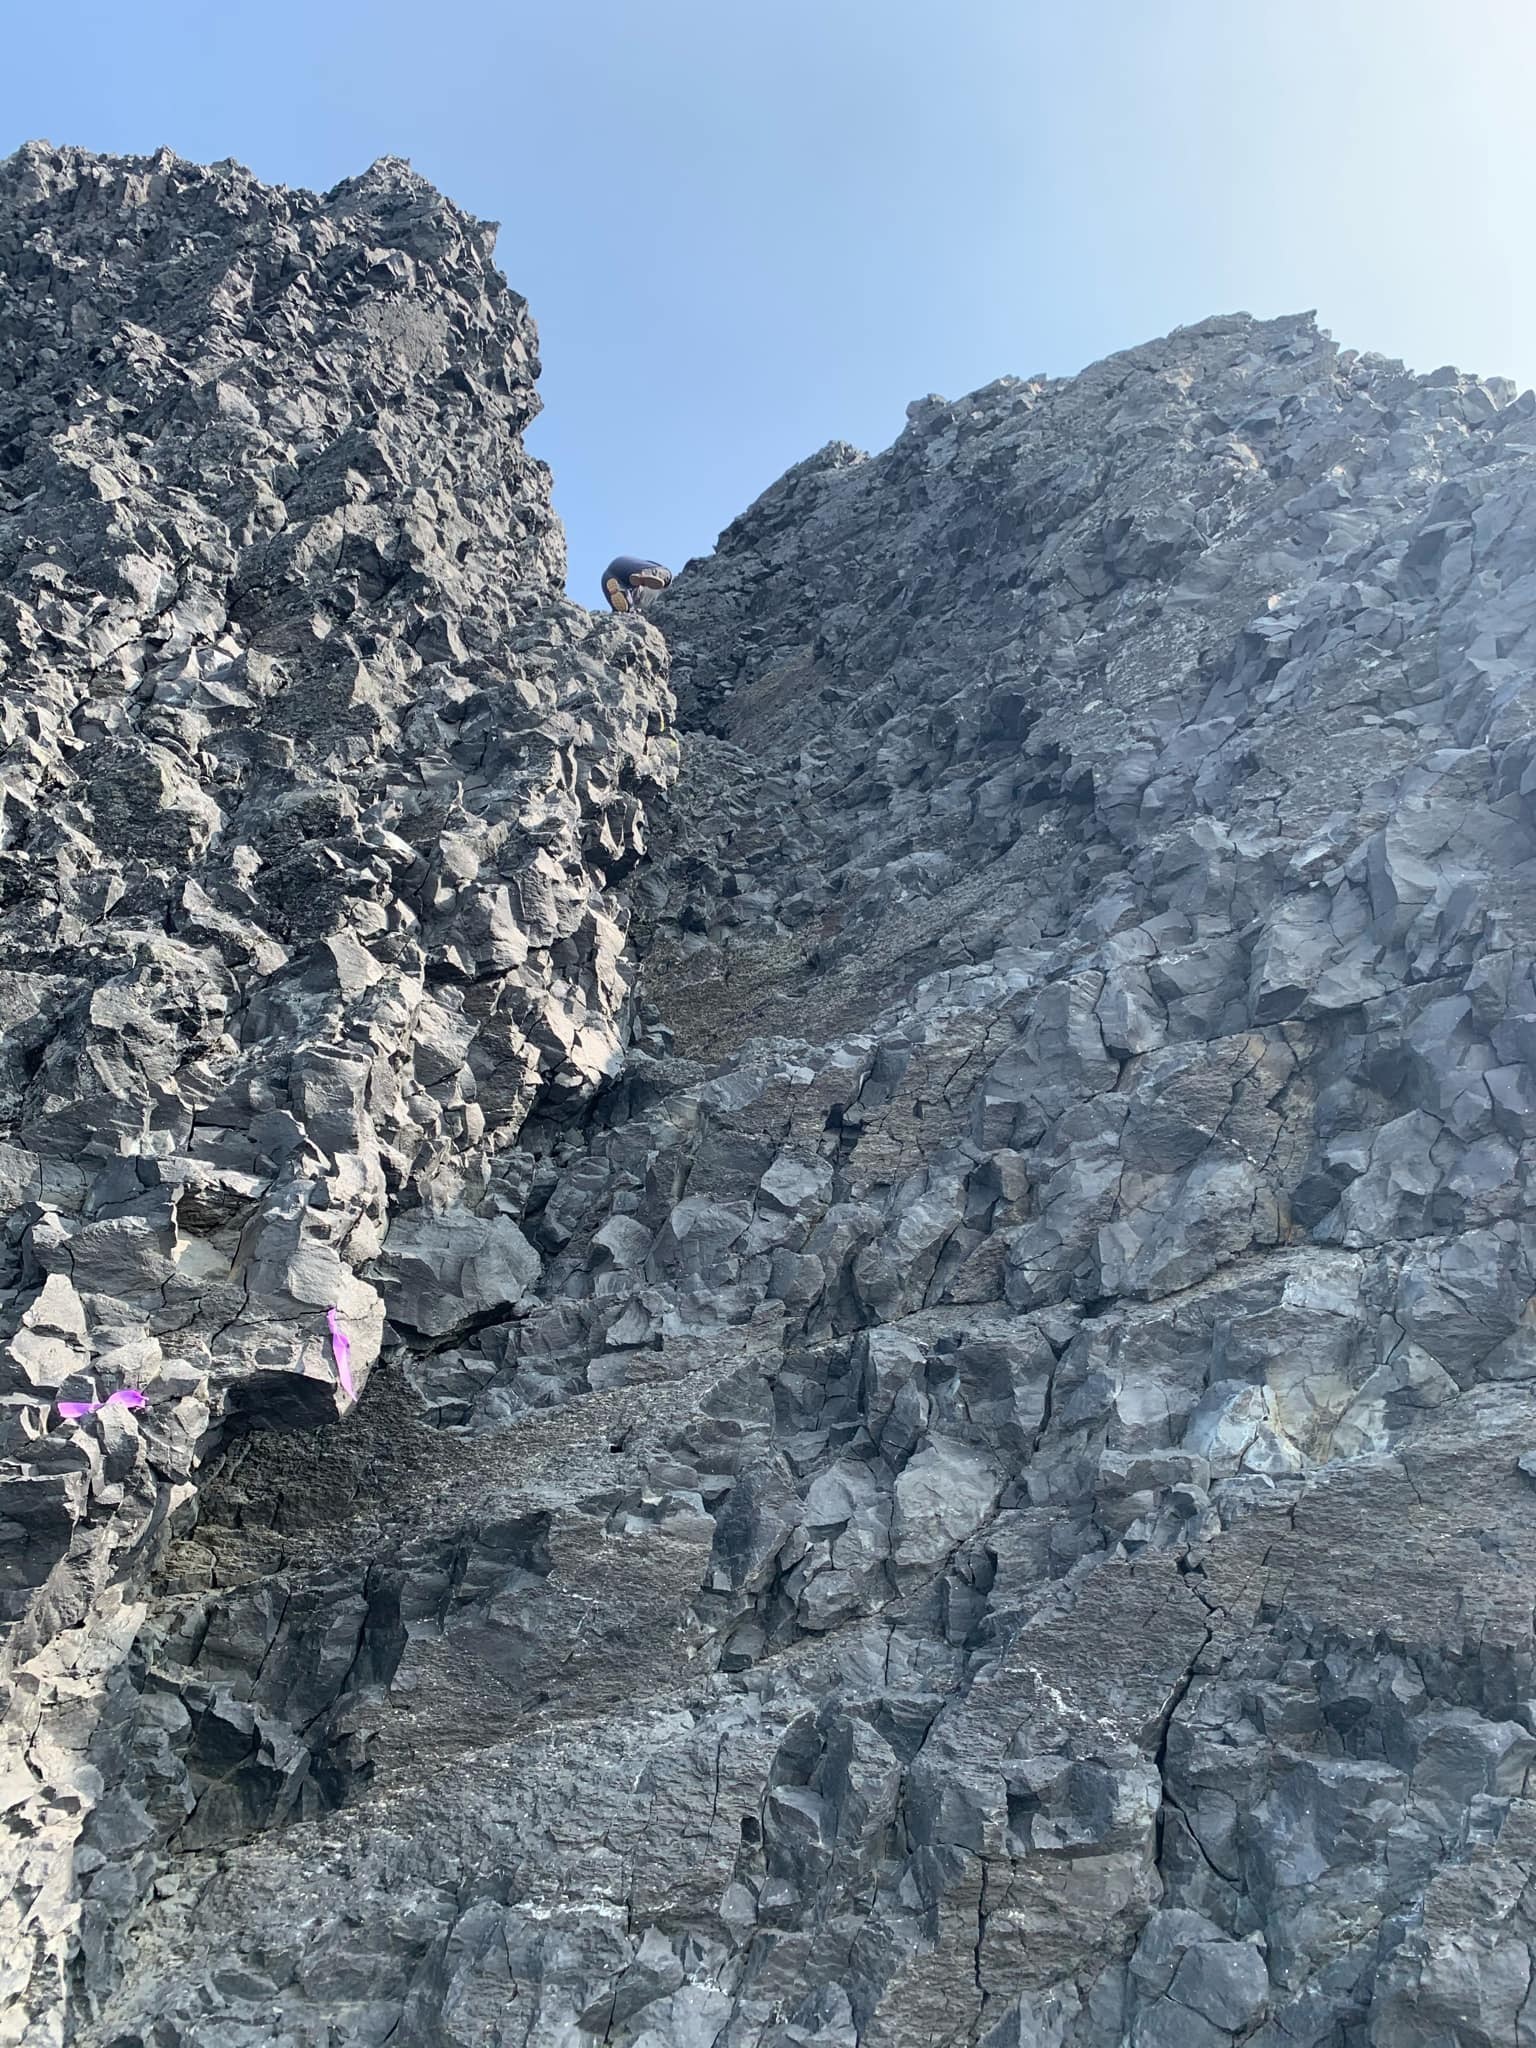
First, you’ll need to find the proper chimney. Traverse around the bottom of the summit block, heading left until you pass the first chimney and locate the second. The correct chimney is hidden behind a rocky outcrop. You will know you have found the correct one because the route will be marked with ribbons, as shown in my picture.
This is where the real climbing begins. The route mostly felt like a class 4 scramble with a section or two with a class 5 move. However, the combination of the exposure on your back and the crumbling rock made it feel much more sketchy than your typical class 4/5 climb. Make sure to triple-check your holds, have 3 points of contact at all times, and leave plenty of space between climbers.
The worst part of the climb is the beginning of the chute (pictured to the right). Once you get above this section, the climb is straightforward, although it requires some route-finding. The important thing is to take your time and follow the ribbons. This is especially important on your downclimb as all the chutes look similar, and only one way takes you down without getting cliffed out.
The final approach to the summit is just another scree slope. Once you get to the top, you will notice another pinnacle across from you. This is technically the true summit. However, it is rarely climbed as it requires trad gear, and the rock quality is terrible. Most people will be content with calling the false summit the turnaround point. I pictured the “true summit” in the gallery to the side.
Day Hiking Vs. Backpacking
Day Hiking
If you decide to hike the Black Tusk in a day, you will be in for a very long hike. The total length is 26 km (16.1 miles) and 1760 meters or 5777 feet of vert. However, this does include doing a loop to add on Garibaldi Lake. If you have been to the lake before or are not interested in adding it, you could save some length by going up and back the same way through Taylor Meadows. Doing the trek by not adding on the lake would save roughly 2.4 km (1.5 miles). However, the lake is worth seeing; taking a dip after your long climb could be very rewarding.
This would be the option if your goal is to go light and not pack up overnight gear or you can’t secure a reservation at either campground.
Backpacking
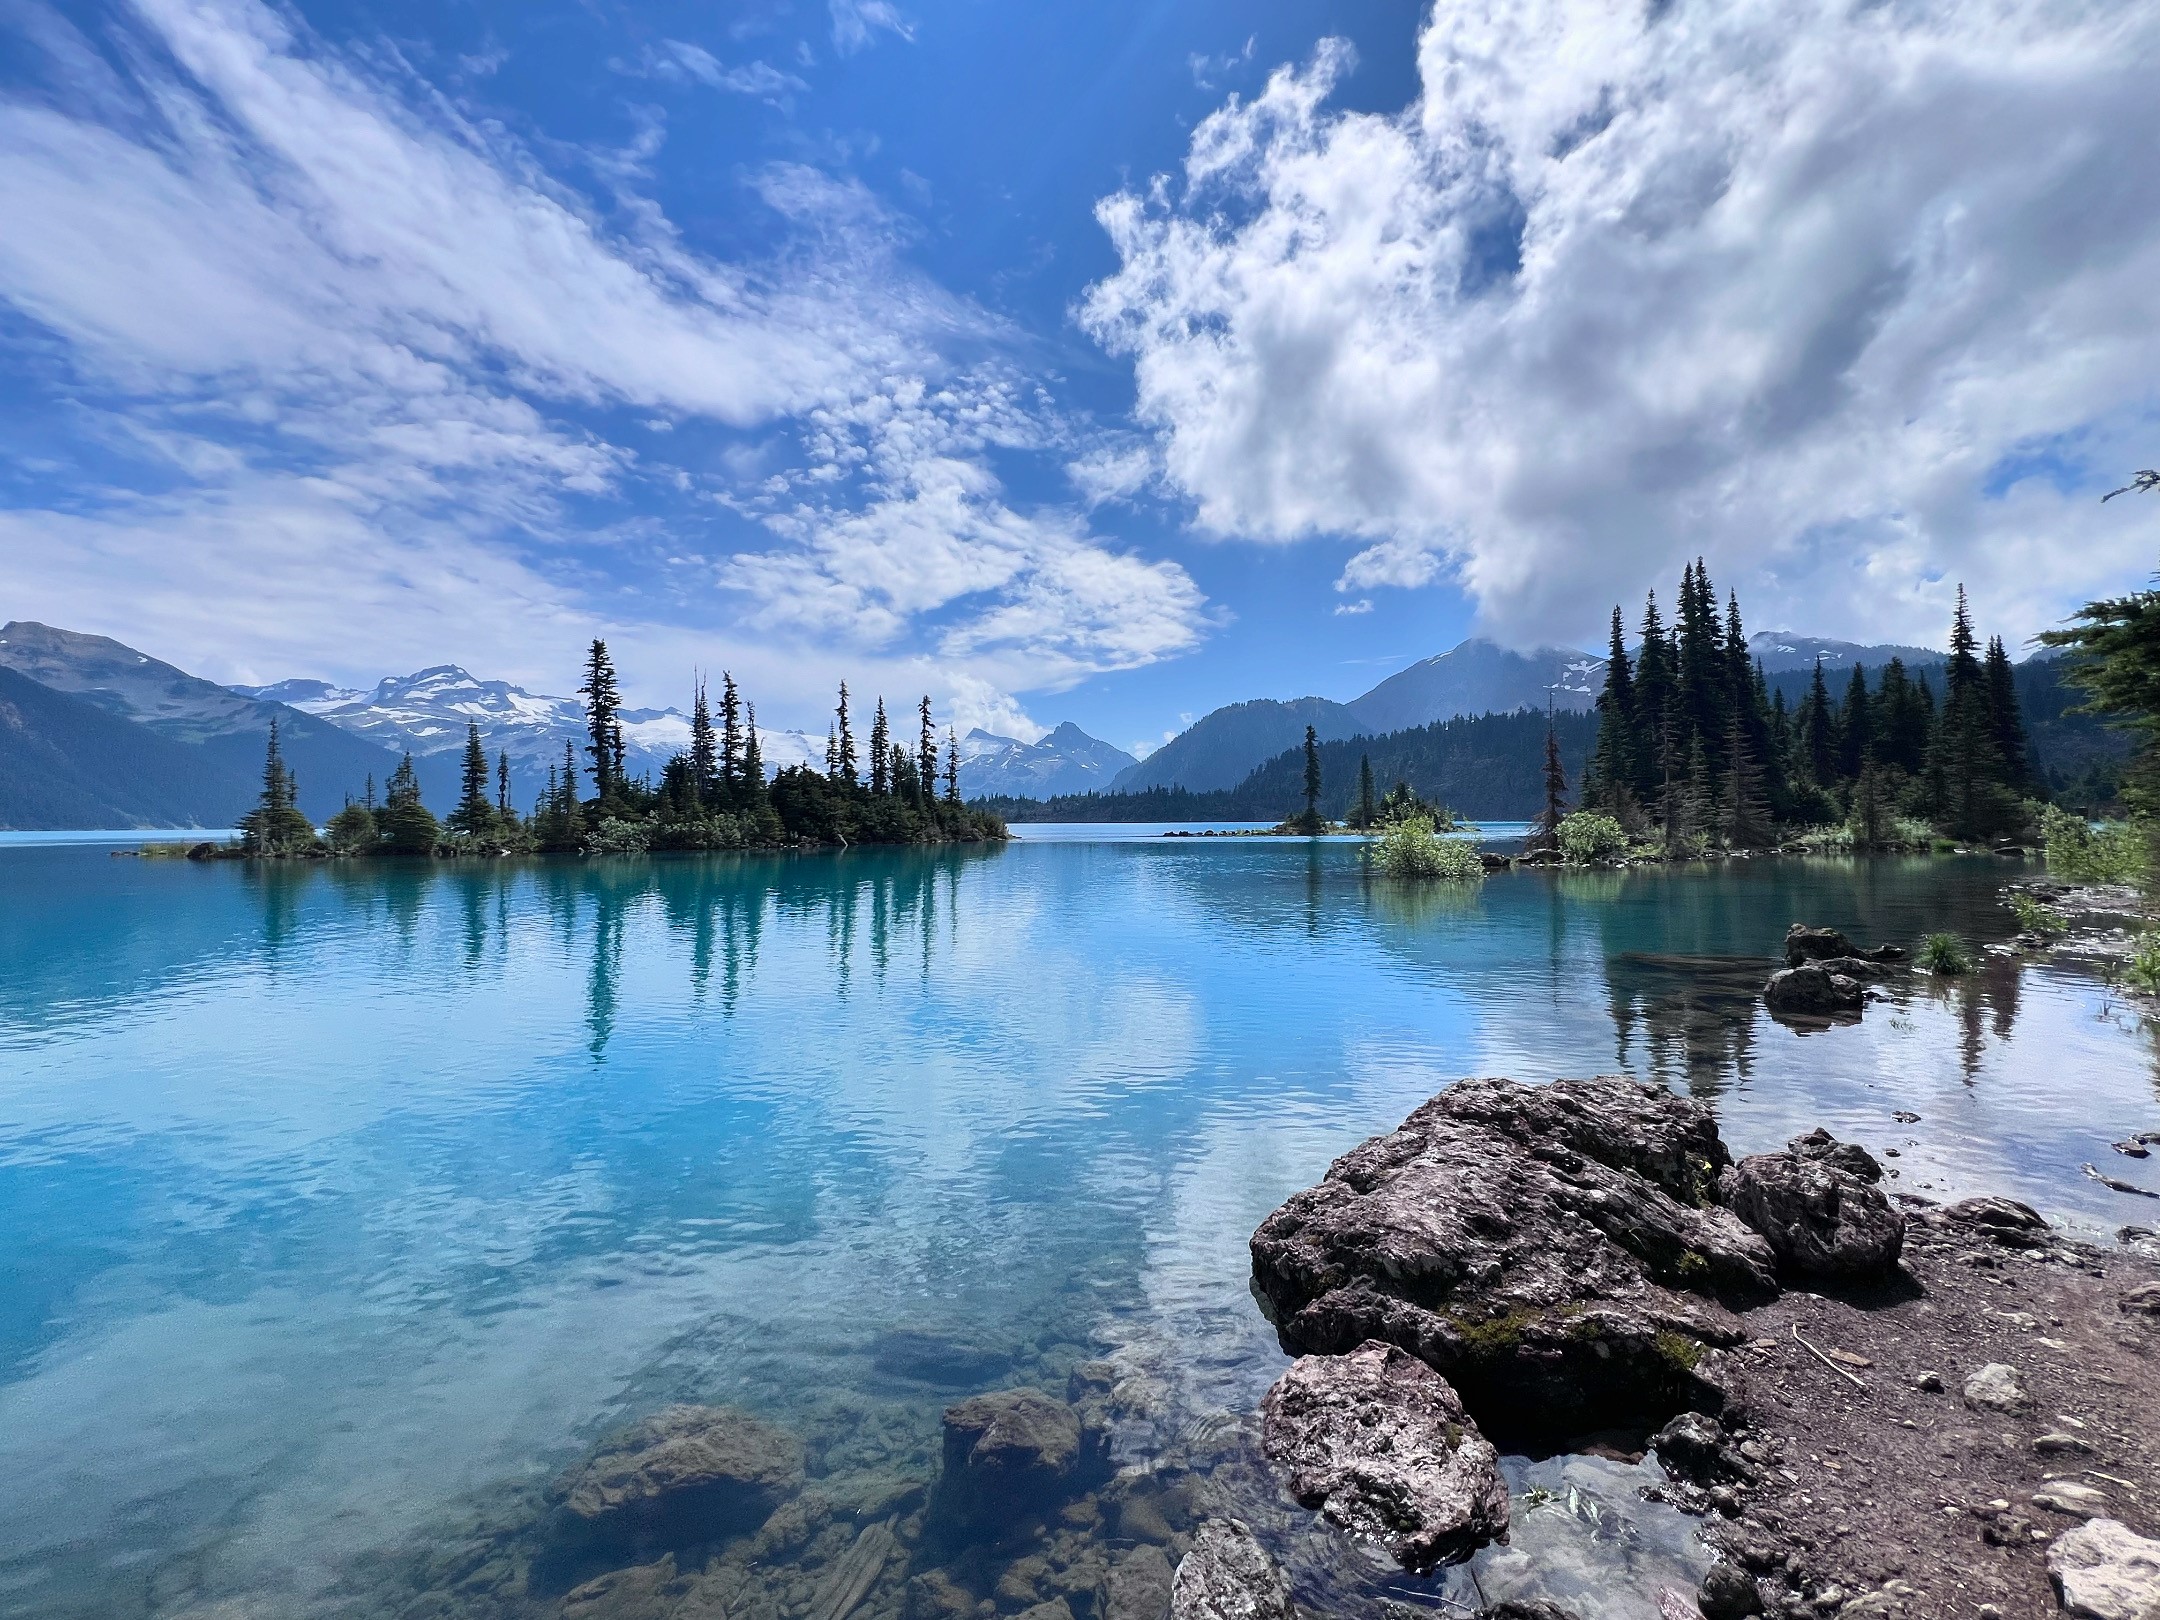
We decided to backpack this route to break up the days and vert. On the first day, we trekked up to the Taylor Meadows campground and found it quite comfortable. There is an enclosed food shelter and plenty of hanging storage for your food and toiletries for bear safety. After hiking up to Taylor Meadows, we built our camp and ditched our bags so that we could walk over to Garibaldi Lake. It was nice doing it this way, as we had plenty of time to soak up the views and enjoy some chilly swims.
On the second day, we woke up early and climbed the Black Tusk. After the climb, we returned to camp and rested for a minute before packing up and trekking back to the car. Personally, I much prefer breaking the climb up and avoiding an all-day slog up the mountain. However, this does require trekking up to camp with heavier packs.
Red Tape
If you decide to backpack this trail, you will need to make reservations in advance to reserve a tent pad at either the Taylor Meadows or Garibaldi Lake Campgrounds. This is easy to do; however, it takes some planning. The closer you are to your dates, the harder it will be to reserve a pad. Frequent cancellations may allow you to reserve a pad at the last minute, but I wouldn’t count on it.
Here is a link to the BC Parks Website to help reserve a tent pad:
BC Parks Reservations
If you’re day hiking the trail, you will be required to reserve a day-use pass from June to September.
Here is a link to help assist with that reservation:
